Bokeh can be one of my favorite supporting elements in an image.
Sometimes it can be the main event.
But what exactly is bokeh? And how do you pronounce that word, anyway? In this article, I'll delve into what bokeh is and how it's created, but I'll leave the debate over how you pronounce the word for later! Just an F.Y.I., in case you're curious, I pronounce it as bow-kuh, not bow-kay! And I'll leave it at that!
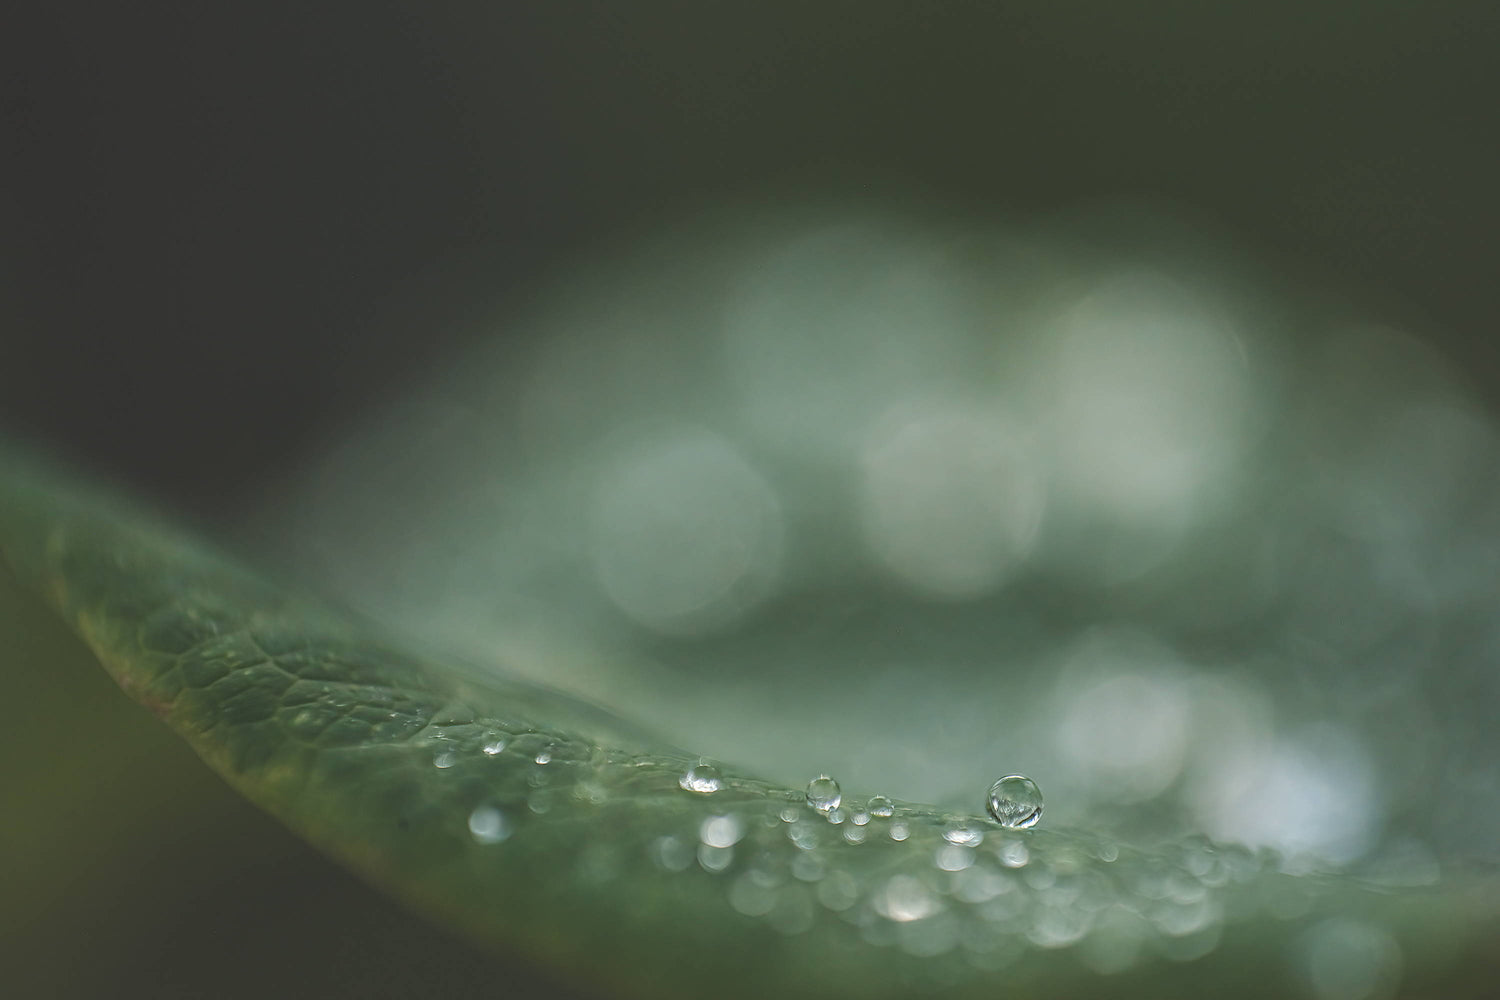
Webster's Dictionary describes bokeh as "the blurred quality or effect seen in the out-of-focus portion of a photograph taken with a narrow depth of field." Bokeh comes from the Japanese word “boke,” which means blur. I like to describe it as all those beautiful, sometimes colorful, round-ish bubbles of light within an image when you're shooting wide open.
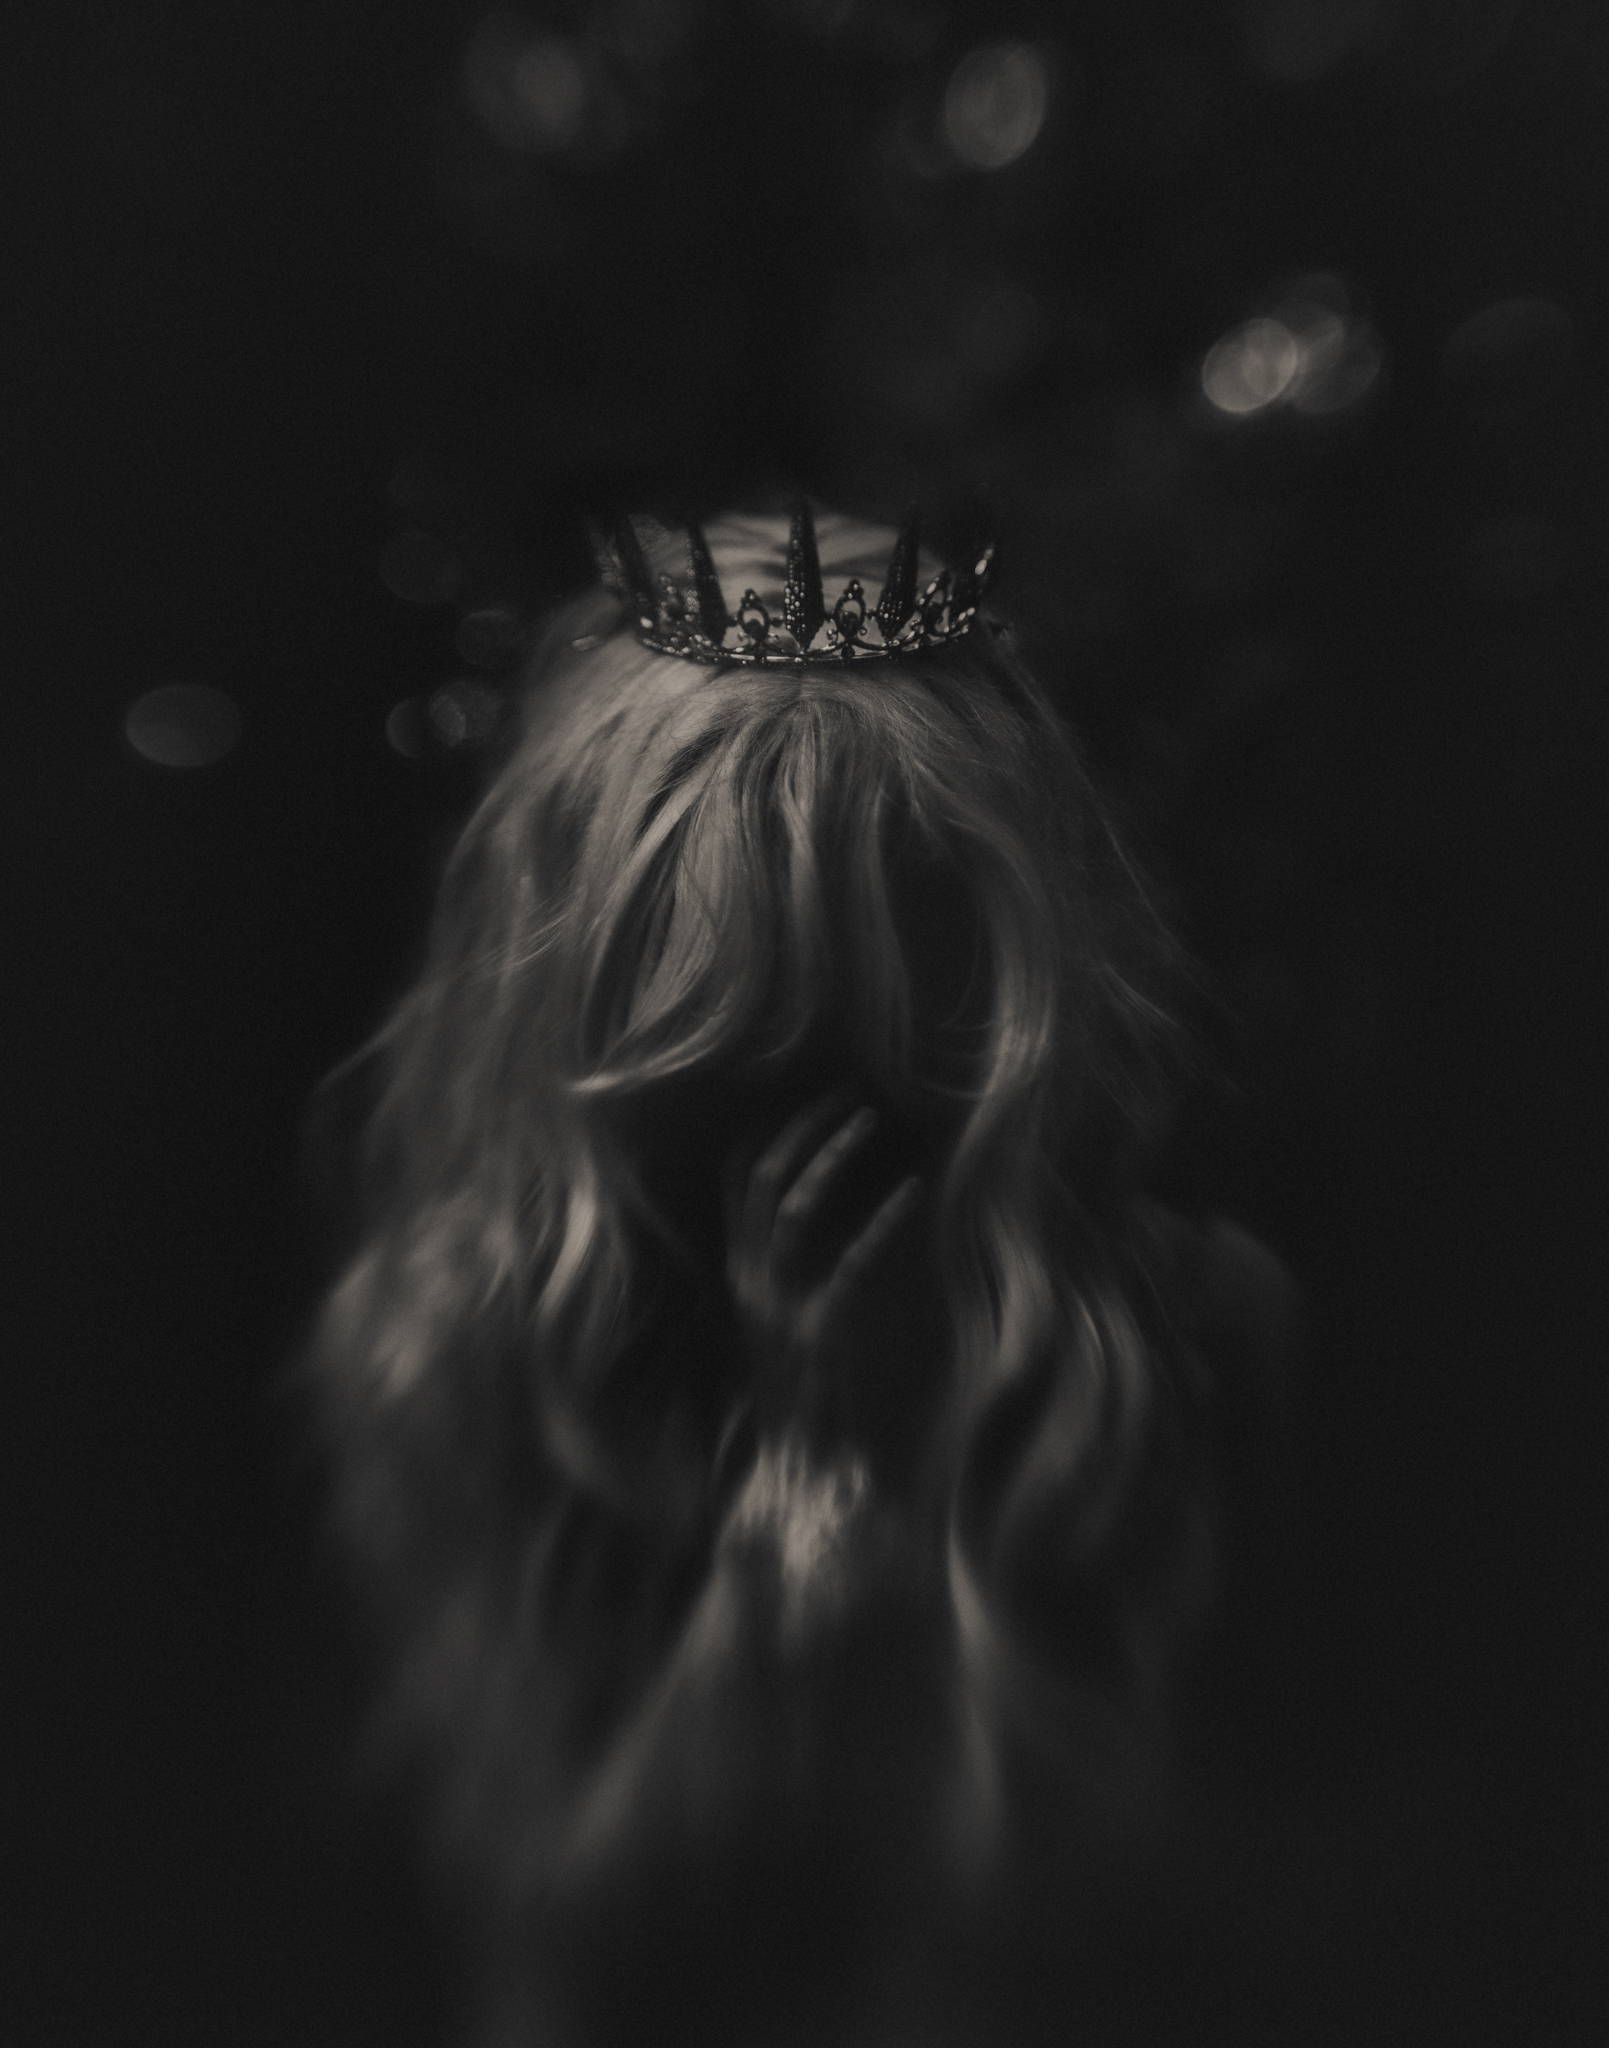
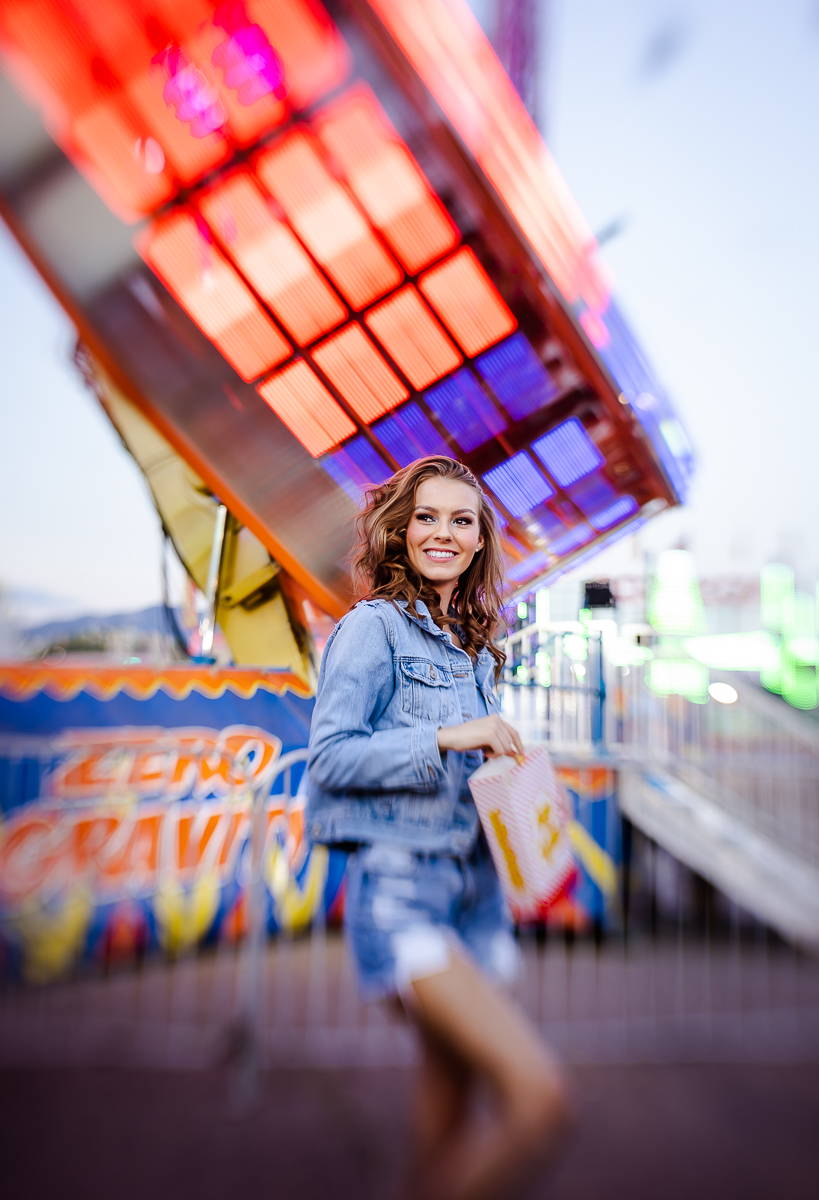
Bokeh, though, is more than just the blur in your image. It's the out-of-focus points of light in your image. It helps you to create an artistic effect that many people find enjoyable. Bokeh can be used in many genres of photography. Portraits and macro come to mind immediately, but they can be found in the landscape, street, nature, etc. Bokeh can also sometimes hide unwanted elements in your frame, keeping an eye on the main subject. Some lenses, such as the Lensbaby Velvet 56 or the Sweet series, can give you a circular bokeh effect, creating movement in your image.
"I like to describe it as all those beautiful, sometimes colorful, round-ish bubbles of light within an image when you're shooting wide open."
The shape of your bokeh can be round, or it can be heptagon-shaped (7-sided). The difference is created by how the blades in the diaphragm were designed. Some lenses have seven straight blades, which create the heptagon shape, and some have 9 or 10 rounded blades that create a more circular shape. In this image above, I loved the basket of fruit and how the light was rendered through all the glass products. I shot wide open to use the out-of-focus points of light to help tell my story.
There are many ways to create bokeh, but first and foremost, you need light or, more specifically, points of light in your image, and it's easiest to create if you shoot with a wide aperture. Most lenses can create bokeh under the right conditions, and you don't need a fancy, expensive lens either! Some lenses just make it easier to accomplish. If you have a prime lens, you might first want to try that over a zoom lens. Prime lenses generally have a wider aperture. Have an inexpensive nifty fifty? Experiment with that first. Don't let those guidelines fool you, though; I have created beautiful bokeh using a Sigma 150-600 at the long end in this dragonfly image above.
One fairly inexpensive vintage lens that creates beautiful bokeh in the Helios 44-2. It can be found on many second-hand websites. Or you could be like me and inadvertently buy the Helios 44 instead! It still works, though! We all make mistakes, right?
Many other vintage lenses have been created, including the Trioplan 100mm f/2.8. I don't have personal experience with any of those lenses, but the results I found online are amazing!
The ideal aperture for shooting bokeh is f/2.8 or even wider at f/1.8, 1.4, or 1.2, but you can achieve bokeh at f/5.6 or eight if you are close to your subject and your subject is a fair distance from whatever is behind them. When you use a wide aperture, you're letting more light into your frame and creating a shallow depth of field. It's this shallow depth of field that helps to create the bokeh and helps to separate your subject from the background.
When shooting bokeh, I recommend setting your camera to manual mode or to aperture priority mode so you can control the aperture, thus your blur. Make sure that you are using your focus points to choose your subject. Letting your camera choose your focus point may not render your bokeh where you want to see it. Again remember to use your wider apertures! It's also helpful if what's behind your subject is dappled light or has patches of light and dark. Think about the way the sunlight hits trees or bushes.
You have lighter spots and some that are darker. Think about twinkle lights on a tree. With the correct settings in your camera, these spots of light will create those beautiful orbs of light.
Bokeh doesn't just have to be found in the background of your image.
You can create a bokeh in the foreground as well. It depends on your field depth and what points of light are available to you.
Points of light can be "manufactured" to help you create your vision. When shooting macro photography, spraying a plant with water can generate bokeh, just like raindrops. Putting objects in front of your lens can produce bokeh. Lensbaby makes one of my favorite bokeh-producing objects: the Omni Universal Swiss Cheese filter, as shown here. When placed at the correct angle and with the right light, it will reflect beautiful bokeh back into your lens. Some of the other Omni wands will create bokeh too.
Many photographers like to use overlays to add elements to enhance an otherwise pretty but plain image. They will purposely shoot a scene of out-of-focus light and layer it together with an image to create a composite, usually using Photoshop to erase the effect off of the main subject. To do this, find a scene with a lot of dotted lights or use twinkle lights.
When using a twinkle light, you have control over the color. You can lay them out however your wish, but my recommendation would be for a random sequence, so it looks more natural. Open your aperture wide, expose it for your highlights, and then rotate your focus ring until the image is completely out of focus and you see nothing but circles of light. Take your image. You can then layer this image with another on Photoshop and mask off the parts of the image you don't want the effect to cover. Creating your bokeh is fun when evergreens are dressed in lights during the holiday season.
When I had the opportunity to beta test the Lensbaby Soft Focus II optic, I tried it out on the displays at my local conservatory. The results are unique and eye-catching! Remember when I mentioned that the bokeh could be the main attraction? This is one of those times. The bokeh leads me right through the image.
I like using bokeh in abstract ways sometimes. This image happened accidentally one evening when it was pitch dark, and I couldn't see the f-stop numbers on my lens. Yes, I forgot my flashlight, and my phone was dead, but I didn't let that stop me! I wasn't sure if I was wide open or closed down until I rotated my focus ring and realized that the lights on the bridge were out of focus. It's not the perfect shot, but this is the catalyst for me wanting to try this again on a different bridge! This is a fun, creative way to experiment. No one gets it right the first time, all the time!
Now that you know a little bit more about what bokeh is and how, where, and why you can use it in your everyday photography, grab your camera and a lens and find a way to take an ordinary image and make something extraordinary!
Want your shots featured by Lensbaby?
Be bold and shoot extraordinary! Make sure to tag your photos on IG with #Lensbaby, #ShootExtraordinary, and let us know what gear you’re using. 📸
Cathy Kuhlman
Cathy is an avid nature photographer who enjoys pushing the limits of light and focus to create thoughtful images. She is also an accepted member of Click Pro, which is an association of professional female photographers. In front of her camera you're likely to find pretty macro subjects, wildlife or a beautiful landscape.


Leave a comment
All comments are moderated before being published.
This site is protected by hCaptcha and the hCaptcha Privacy Policy and Terms of Service apply.