Step by Step Guide Creative Bokeh Optic
Welcome to the Creative Bokeh Optic Step by Step guide.
What is the Creative Bokeh Optic?
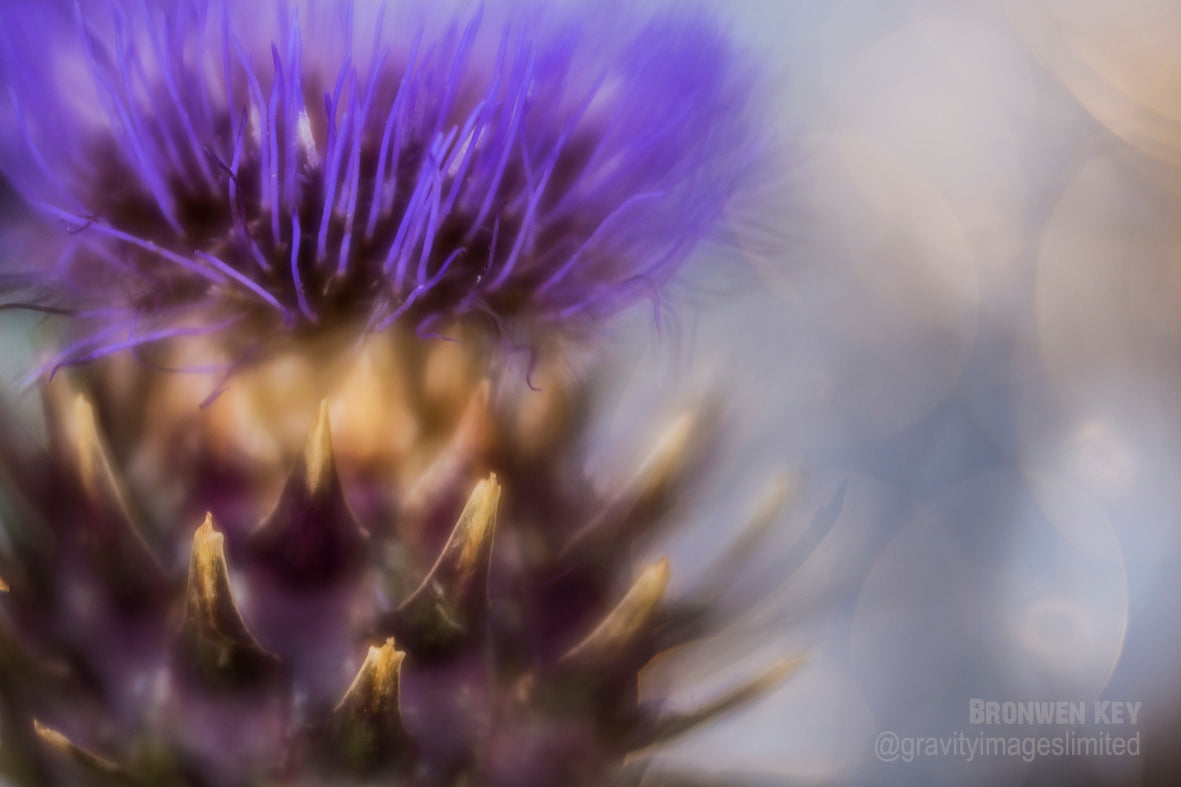
The primary effect of the Creative Bokeh Optic is shaped bokeh. Bright points of light in the out-of-focus areas of your image will take on the shape of whichever shaped aperture disk you choose, letting you create truly one-of-a-kind images. Creative Bokeh Optic comes with magnetic aperture disks that drop into the front of the Optic. This Optic also comes with 2 blank disks - which you can use to cut out any shape you desire.
Similar to our Sweet Optics, Creative Bokeh Optic will give you a round sweet spot of focus surrounded by blur. Creative Bokeh Optic has a 50mm focal length and, along with those drop-in shaped aperture disks, has a normal aperture dial built in like our other Sweet Optics. The glass inside this Optic is a single uncoated element, meaning your area of focus will have a bit of organic softness or glow to it.
You need a Composer series lens (or legacy Muse, Control Freak or Scout lens body) in order to shoot with the Creative Bokeh Optic, which is only sold separately (it is NOT sold installed in Composer series lens).
Shooting With the Shaped Apertures

Your Creative Bokeh Optic comes with seven different shaped aperture discs. Make sure that you have bright points of light in the background of your image to take on the shape of the disk. Light streaming through trees is an easy one to experiment with. Holiday lights, street lights, or twinkly lights strewn across the backdrop of a portrait or still life shoot also work well. Simply point the lens toward your subject, rotate the focus ring on your Composer series lens to focus, and shoot. Youll likely be able to see the shapes as youre composing the image, depending on how prominent they are, and you will definitely be able to see the shapes on your cameras LCD after you take the shot.
Shooting With the Normal Aperture Dial
Like with our other optics, aperture controls how large or small the spot of focus is and how much blur surrounds it. Adjust aperture manually by rotating the dial on the optic. Your camera will likely show F-- or F00. The brighter your aperture, the more blur and the smaller the spot of focus. This is good for getting just eyes in focus. As you stop down to darker apertures, like f/5.6 or f/8, your area of focus gets larger and the amount of blur decreases. This is good for getting an entire face in focus. As mentioned above, Creative Bokeh Optic is a single, uncoated element of glass that gives you a round spot of focus with a bit of organic softness, surrounded by blur.
Cutting Your Own Shapes

Use the two blank disks to cut your own shapes. Two easy ways to do this are with craft-store hole punches or a sharp Xacto knife. Either way, its easier to cut on the matte side vs the shiny side - and if youre using an Xacto knife, make sure to cut on top of cardboard or a cutting mat so you dont damage the surface underneath.
Using Shapes as In-camera Texture

If the shapes are proving to be a bit too overwhelming in your photo, try using the disk with the lines in it to create texture in your background - similar to adding texture in post-production but, by adding the effect in camera, you can experiment and build on ideas in the moment. You can also change the orientation of the lines by the positioning of the disk. See the examples above.
Creative Bokeh Optic is 15% off now through May 31.


Leave a comment
All comments are moderated before being published.
This site is protected by hCaptcha and the hCaptcha Privacy Policy and Terms of Service apply.