
I don't like to take tack-sharp images.
There, I said it.
Let me preface this by saying that I do own several very good, very fast, autofocus lenses that capture images so sharp that you can see the detail in every single tiny eyelash, even shooting wide open.
And there is a place for this kind of sharpness - it's an important skill to master as a beginner photographer, as we must first learn the 'rules' before experimenting with breaking them.
But it's not my preferred way to shoot.
No, I'm more drawn to the tactile experience of a manual focus lens, seeing the focus shift as I turn the focus ring and embracing the often unpredictable and perfectly imperfect results.
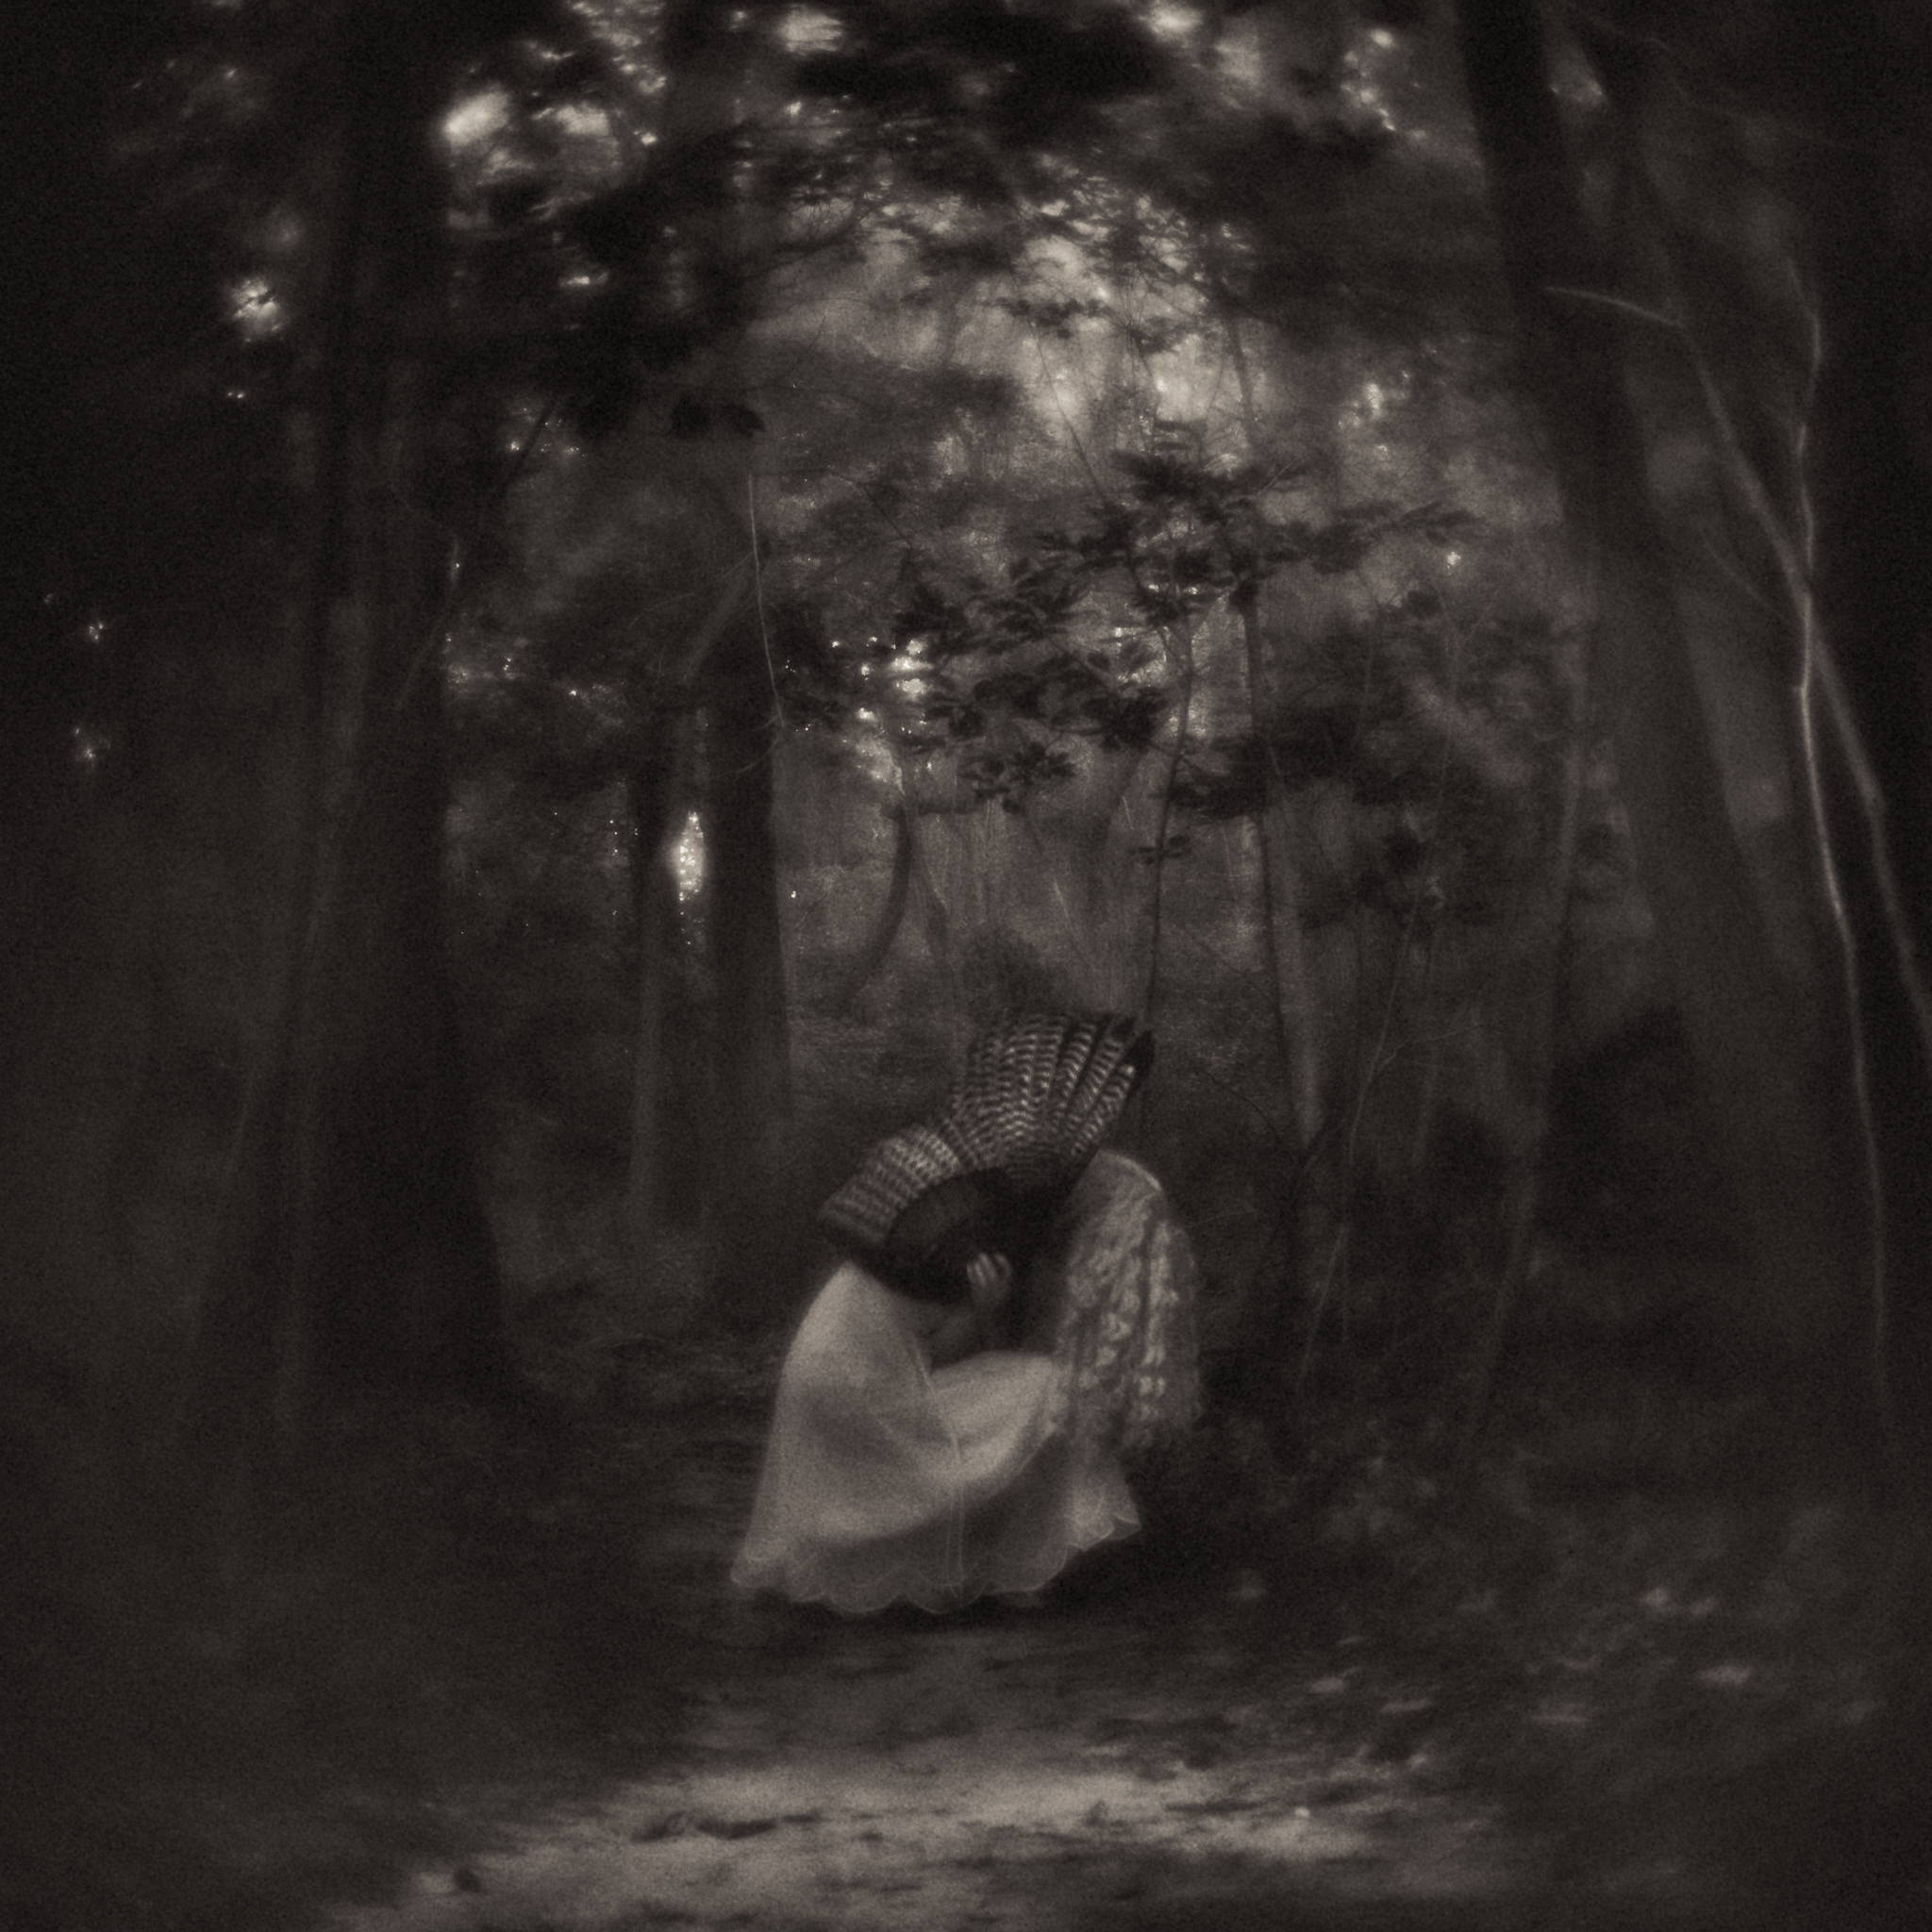
And my favourite kind of images is the ones filled with blur and haze, lens flare, and… magic!
The ones that invoke a strong nostalgia for the old film days of my childhood, when nothing was perfect, and we had to drop our films at the pharmacy and then wait a week to see if any of our images even turned out.
"If your camera doesn’t have focus peaking, you rely on your eyes and the diopter (the small wheel adjacent to your viewfinder) to ascertain where your focus is falling."
But how do you know the difference between a 'good' blur and an image that is simply out of focus?
Well, it all comes down to intention, and the key, as I mentioned earlier, is first learning how to master focus, so you can then learn how to manipulate that focus in more creative ways.
Many newer cameras have ‘focus peaking’, which allows you to see the area in focus as you turn the focus ring so you can be sure to get focus exactly where you want it.
If your camera doesn’t have focus peaking, you rely on your eyes and the diopter (the small wheel adjacent to your viewfinder) to ascertain where your focus is falling. To check that your diopter is correctly adjusted for your eyes, adjust the diopter until it looks sharp, and then take a test shot using autofocus to ensure it is, in fact, nice and sharp.
So, now that we know HOW to focus manually. Let’s get back to intention, which is what determines the difference between artful blur and plain old missed focus.
I like to use blur to create a sense of nostalgia and magic in my images, so I often aim to have the entire image slightly out of focus and then incorporate other elements such as backlight, lens flare, haze, and bokeh to add interest and nuance to my frame.
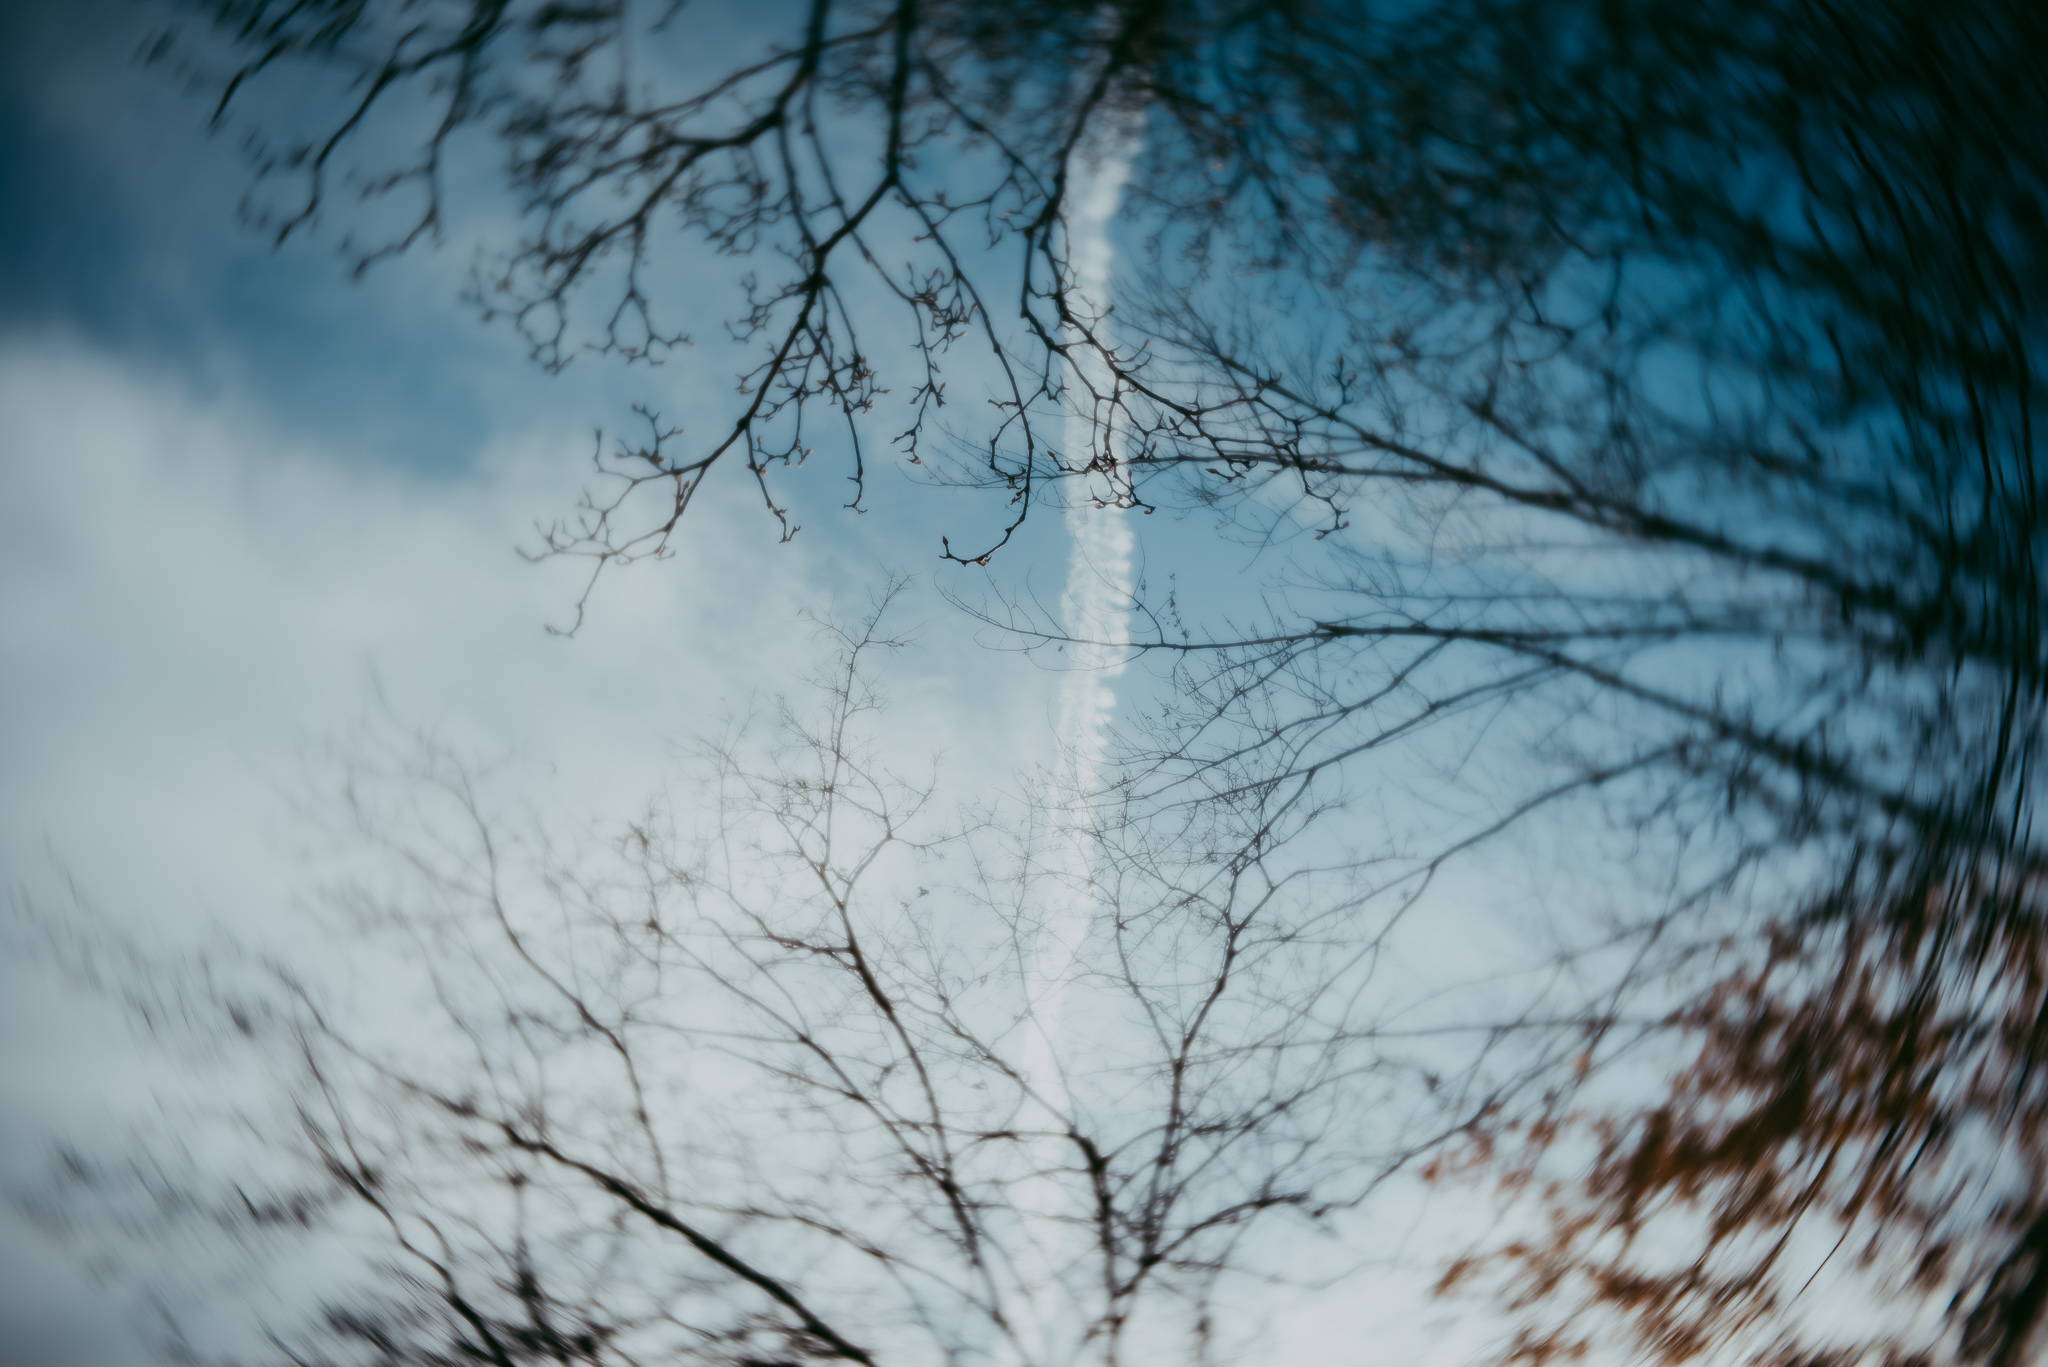
This next image is one of my all-time faves. Almost nothing is in focus, but the haze and blur and gorgeous golden light all tell the story of an afternoon spent at one of our favourite places in the world, a local river.
Other times, I will choose a spot or slice of focus in my frame, with the rest of the image falling into a soft blur. This draws my subject’s eye directly to the sharp point in the frame.
For example, in the below image, the sweet spot of focus falls on my son's eyes, with the rest of him swirled in that characteristic Sweet blur.
Another way I incorporate blur into my images using my Lensbaby lenses is to stop down just enough (usually to either f4 or f5.6) to get my subject nice and sharp while rendering the background into delicious bokeh and blur, as in this next image.
This is definitely tricky to master when photographing fast-moving children, but I’ve become so used to manual focus now that when I do pick up an autofocus lens, it almost feels foreign in my hands!
Of course, when you’re shooting with a manual focus lens, there will be times that you DO miss focus - lots of them! This is part of the beauty of digital. You can simply delete any misfocused images and keep shooting until you nail that focus.
Sometimes, you may even find you end up with a happy accident. For example, in the photo below, taken with my Edge 50, I intended to get my son in focus as he slid down the slip-and-slide. But I missed focus and, instead, caught my dad in the background.
Ordinarily, this wouldn’t have been a keeper. But in this particular situation, my dad was terminally ill, and we had brought him outside in the sun to sit and watch the grandkids play, so the focus on him actually captured another element of the story.
And, of course, I could keep shooting and get some of my kids in focus as planned too.
In fact, it’s part of the trial-and-error nature of manual focus that really draws me to it - it feels like a much more hands-on process, more like creating art rather than letting the camera make its own decisions.
Which, again, is not to say there isn’t a place for autofocus and tack-sharp images - if you’re a pro photographer, these are the ones your clients want up on their walls - but sometimes letting go and leaning into the creative process rather than the end result can be incredibly liberating.
So why not give it a go?!
Want your shots featured by Lensbaby?
Be bold and shoot extraordinary! Make sure to tag your photos on IG with #Lensbaby, #ShootExtraordinary, and let us know what gear you’re using. 📸
Emma Davis
Emma Davis is a Lensbaby Ambassador, photography instructor at clicklovegrow.com, and mum of six, originally from New Zealand but now living in Sydney, Australia. She is a lover of light, a stalker of shadows, and obsessed with capturing all the little day-to-day moments that will one day be her children's childhood memories. You can find her at sixdegreesofchaos.com and on Instagram @sixdegreesofchaos.
Leave a comment
All comments are moderated before being published.
This site is protected by hCaptcha and the hCaptcha Privacy Policy and Terms of Service apply.