Eery ghostlike figures, mirrored reflections, and dreamlike scenes - the technique of double exposures opens up a whole new world of creative photography possibilities. While it can seem intimidating at first, creating double exposures in-camera is not as complicated as you might think. 
As a photographer, I rarely settle for shooting what is right in front of my eyes, trying instead to construct a shot the way I see it in my mind’s eye. Which made me fall in love with the 
Multiple exposures is a very old photographic technique. I was addicted to it back when I was shooting analogue and was excited when it was introduced in DSLRs. Nowadays, a lot of digital cameras from the various manufacturers have this function; although the technical details might differ from model to model. Personally, I have used it with Canon 5DIII, 5DIV, 5DS, 5DSr, R and 80D. The key principle is fairly simple: you select your “base” image from those you already have on your memory card and keep shooting, adding subsequent images to the “base” image.
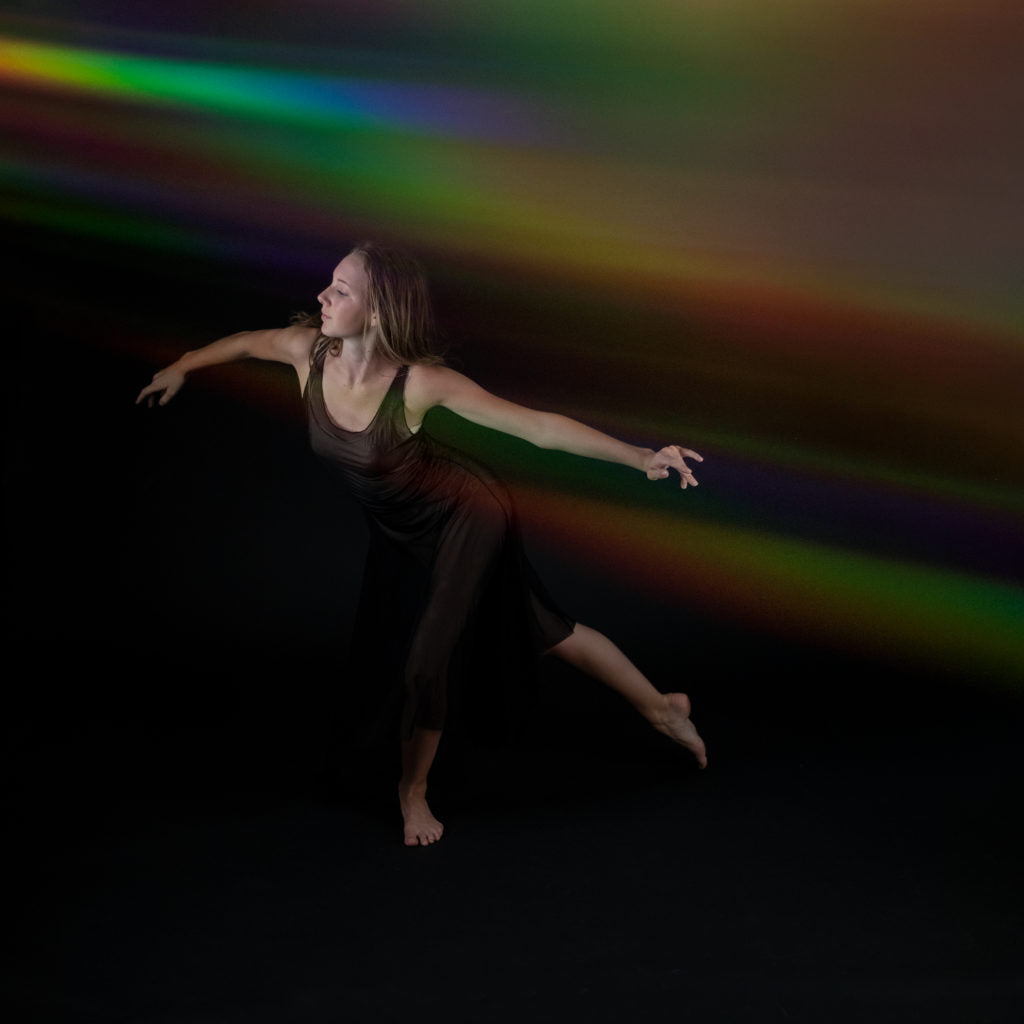
In my case, it meant that I would first get the images of my model - a very talented dancer Megan - in the studio, using studio lights. This way, I was in control of the final image (in as much as it is possible with moving models!). I then waited for a sunny day and had a few hours shooting in the studio with natural light, setting my camera for double exposure, using one of the images of Megan as the “base” and taking my time to create a perfect rainbow effect against the black background. The key is that I could see the first image in Live View mode and make sure that the rainbow overlaps with my main image exactly the way I wanted it to. I kept the original “base” image, as well as the second shot of each rainbow, as separate files - just in case I wanted to use them again for another project.

In my experience, it is easier to create a good rainbow with natural light, but I did experiment with continuous studio lights too, just to get a good variety of the rainbow effect in terms of shapes and colours.
Ultimately, being able to choose the perfect “base” image has been key for me, as it allows me to fully control how the model and rainbow merge in my final shot.
I had a lot of fun creating this mini portfolio, and will certainly keep using the rainbow wand, applying the technique described above.
Please note not all cameras have a multiple exposure function. Manufacturers Canon, Nikon, Fuji and M 4/3 all have some camera models that do. Here is an example of what a double exposure functionality menu may look like.

To learn more about creating double exposures in-camera check out this article.
All images created with the OMNI Creative Filter System.
Leave a comment
All comments are moderated before being published.
This site is protected by hCaptcha and the hCaptcha Privacy Policy and Terms of Service apply.