As creatives we will often be drawn to making images at any time of the day. However, if you plan for location, time of day and weather conditions, we can focus on creating stellar photographs, instead of just a snapshot of a place
Location
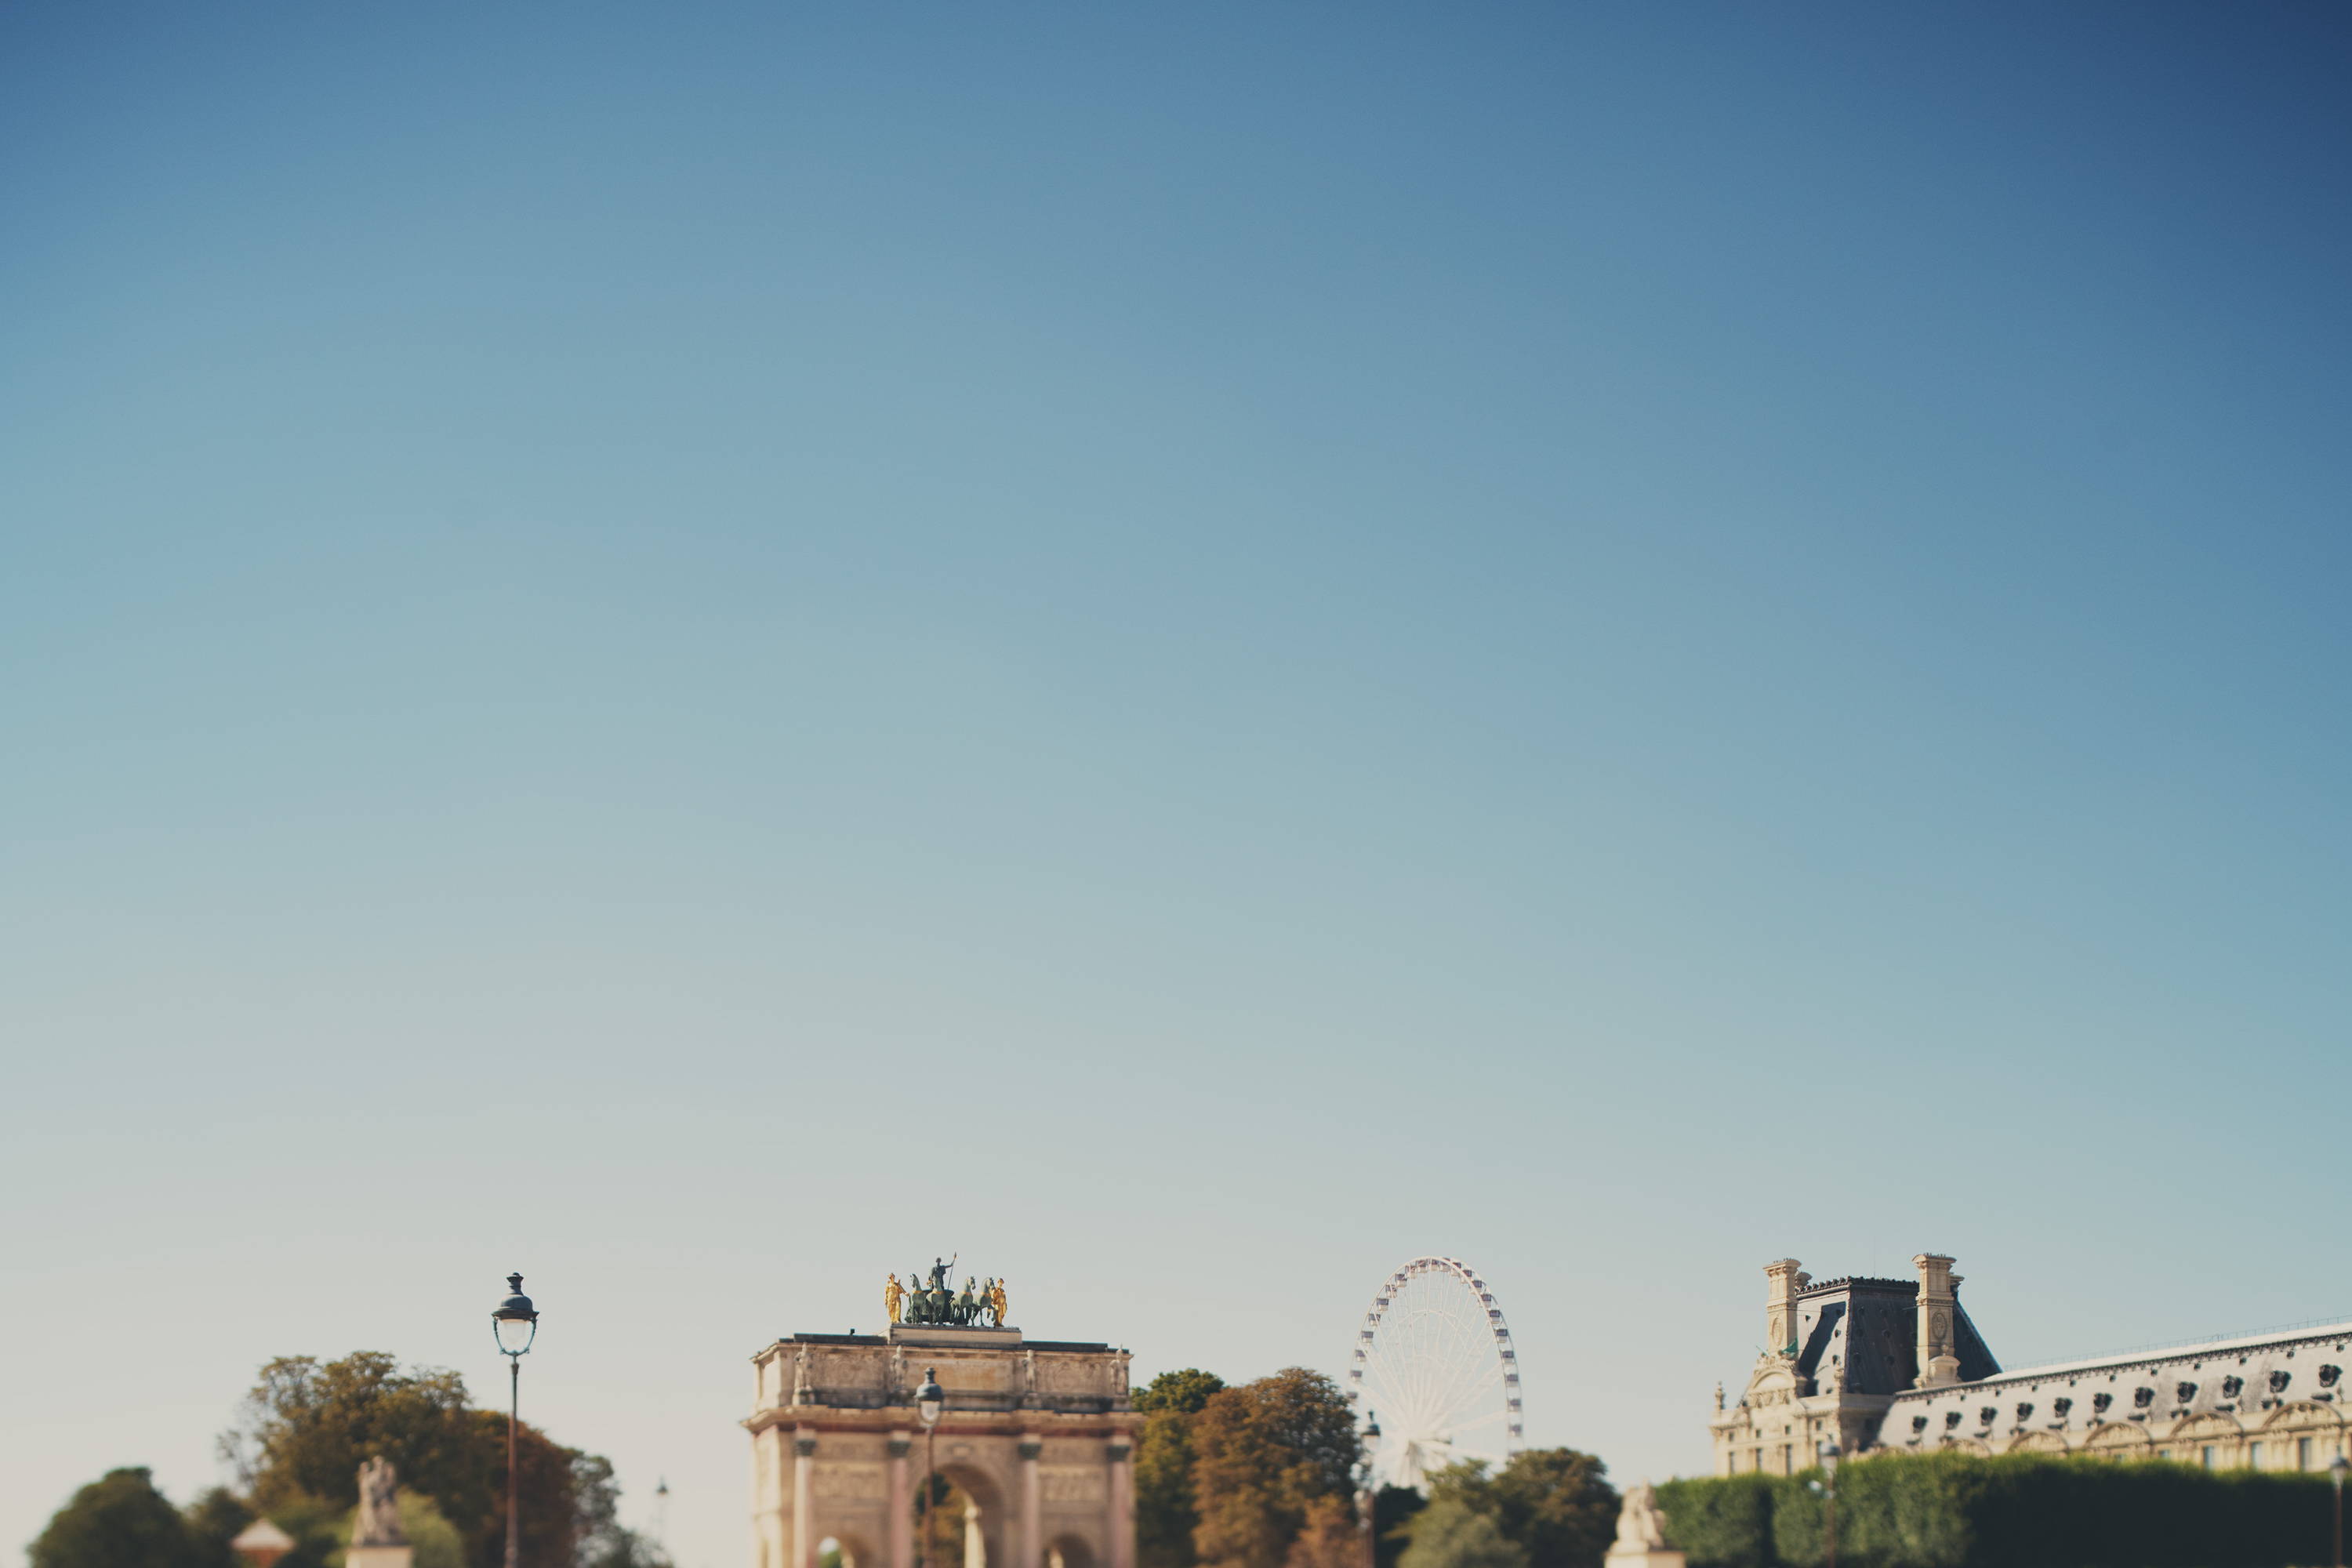
As they say, location, location, location. When I plan for landscape or travel photography, location is where I begin. What spots are going to be interesting? Perhaps traditional iconic buildings like the Eiffel Tower, or less common places like a small lake in the middle of nowhere. These things all take a little research. There are a ton of ways to do research for cool places. I use a variety of these when I'm planning for an outing
Create a Facebook post to see if any friends have gone to a place you'd want to visit or to take a poll of places that people have loved. Instagram is loaded with photo and video content from around the world. Whenever I see a cool post, I save it, so I have it for a later reference. You can also use the search feature to find “things to do in Scotland, or England, or Thailand” - you get the picture. Google, or any search engine. You can use Google to find blog posts or articles about places to visit. You can be specific to include concepts like “fun places to photograph” or “must see landmarks”, etc…
Finding The Light
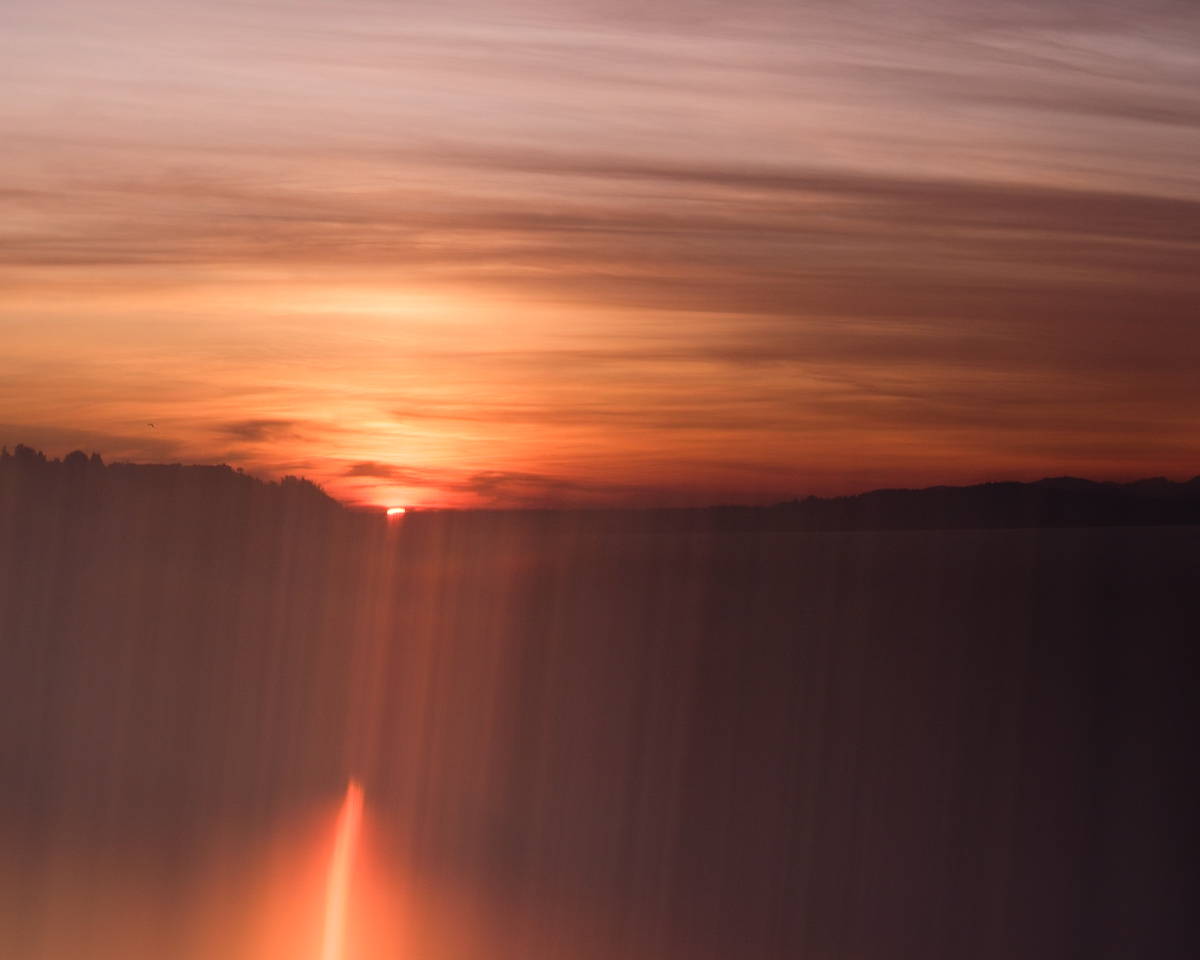
Say you want to take images along the Seattle waterfront at sunset. If you have never done this before, I recommend that you do some location scouting of the area. Generally, with location scouting you would visit the location at the same time of day which you plan to create images. You can plan out compositions and understand the direction of light on your subject.
● Will it be on your subject or behind it?
● Do you want it to be on your subject or behind it
There are apps like Photo Pills which allow you to see the direction of the sun and moon at a specific location, on any given day.
Weather
You don’t really get to plan for the weather, but you can try to. If you have a bit of time in a location, and the weather is bad one day, you could postpone any plans to the next day in the hopes it will be better for your needs. Is it going to be sunny, raining, cloudy, partly cloudy? Any of these could impact your creative goals. If it’s completely overcast, I most likely will not head out to a location because the sun will be covered, and there won’t be any colour. However, partly cloudy could be super interesting! Try the weather app on your phone or an app like Accuweather to help with planning. Or consider websites like weather.com.
Planning
Whether my goal is sunrise or sunset, I always want to arrive at my location at least 1 or 1.5 hours before the actual sunrise/sunset time. This provides you with time to set up for your initial composition, and be ready as the light changes. As that light changes be sure to move around and look for additional compositions. Make a goal to go home with 6 or more solid photos instead of 20 of the same composition. Heading out for sunrise can be really great, it will be more quiet with fewer people around.
The light often has this soft, pastel glow. You’ll have a little blue hour before the sunrise and potentially a bit of golden hour just after the sun rises over the horizon. Sunrise photos means getting up crazy early to get to that location before sunrise, but after you’ve made some images, there’s always coffee and food to be found, somewhere! When arriving an hour or so before sunset, you can get that great golden hour light, sunset, and then if time allows, I hang out for blue hour too. I may publish only 1-2 images from an outing, but having a variety of lighting types means I can use them for blog posts, presentations, or social media posts where I want to revisit a place.
Camera Settings
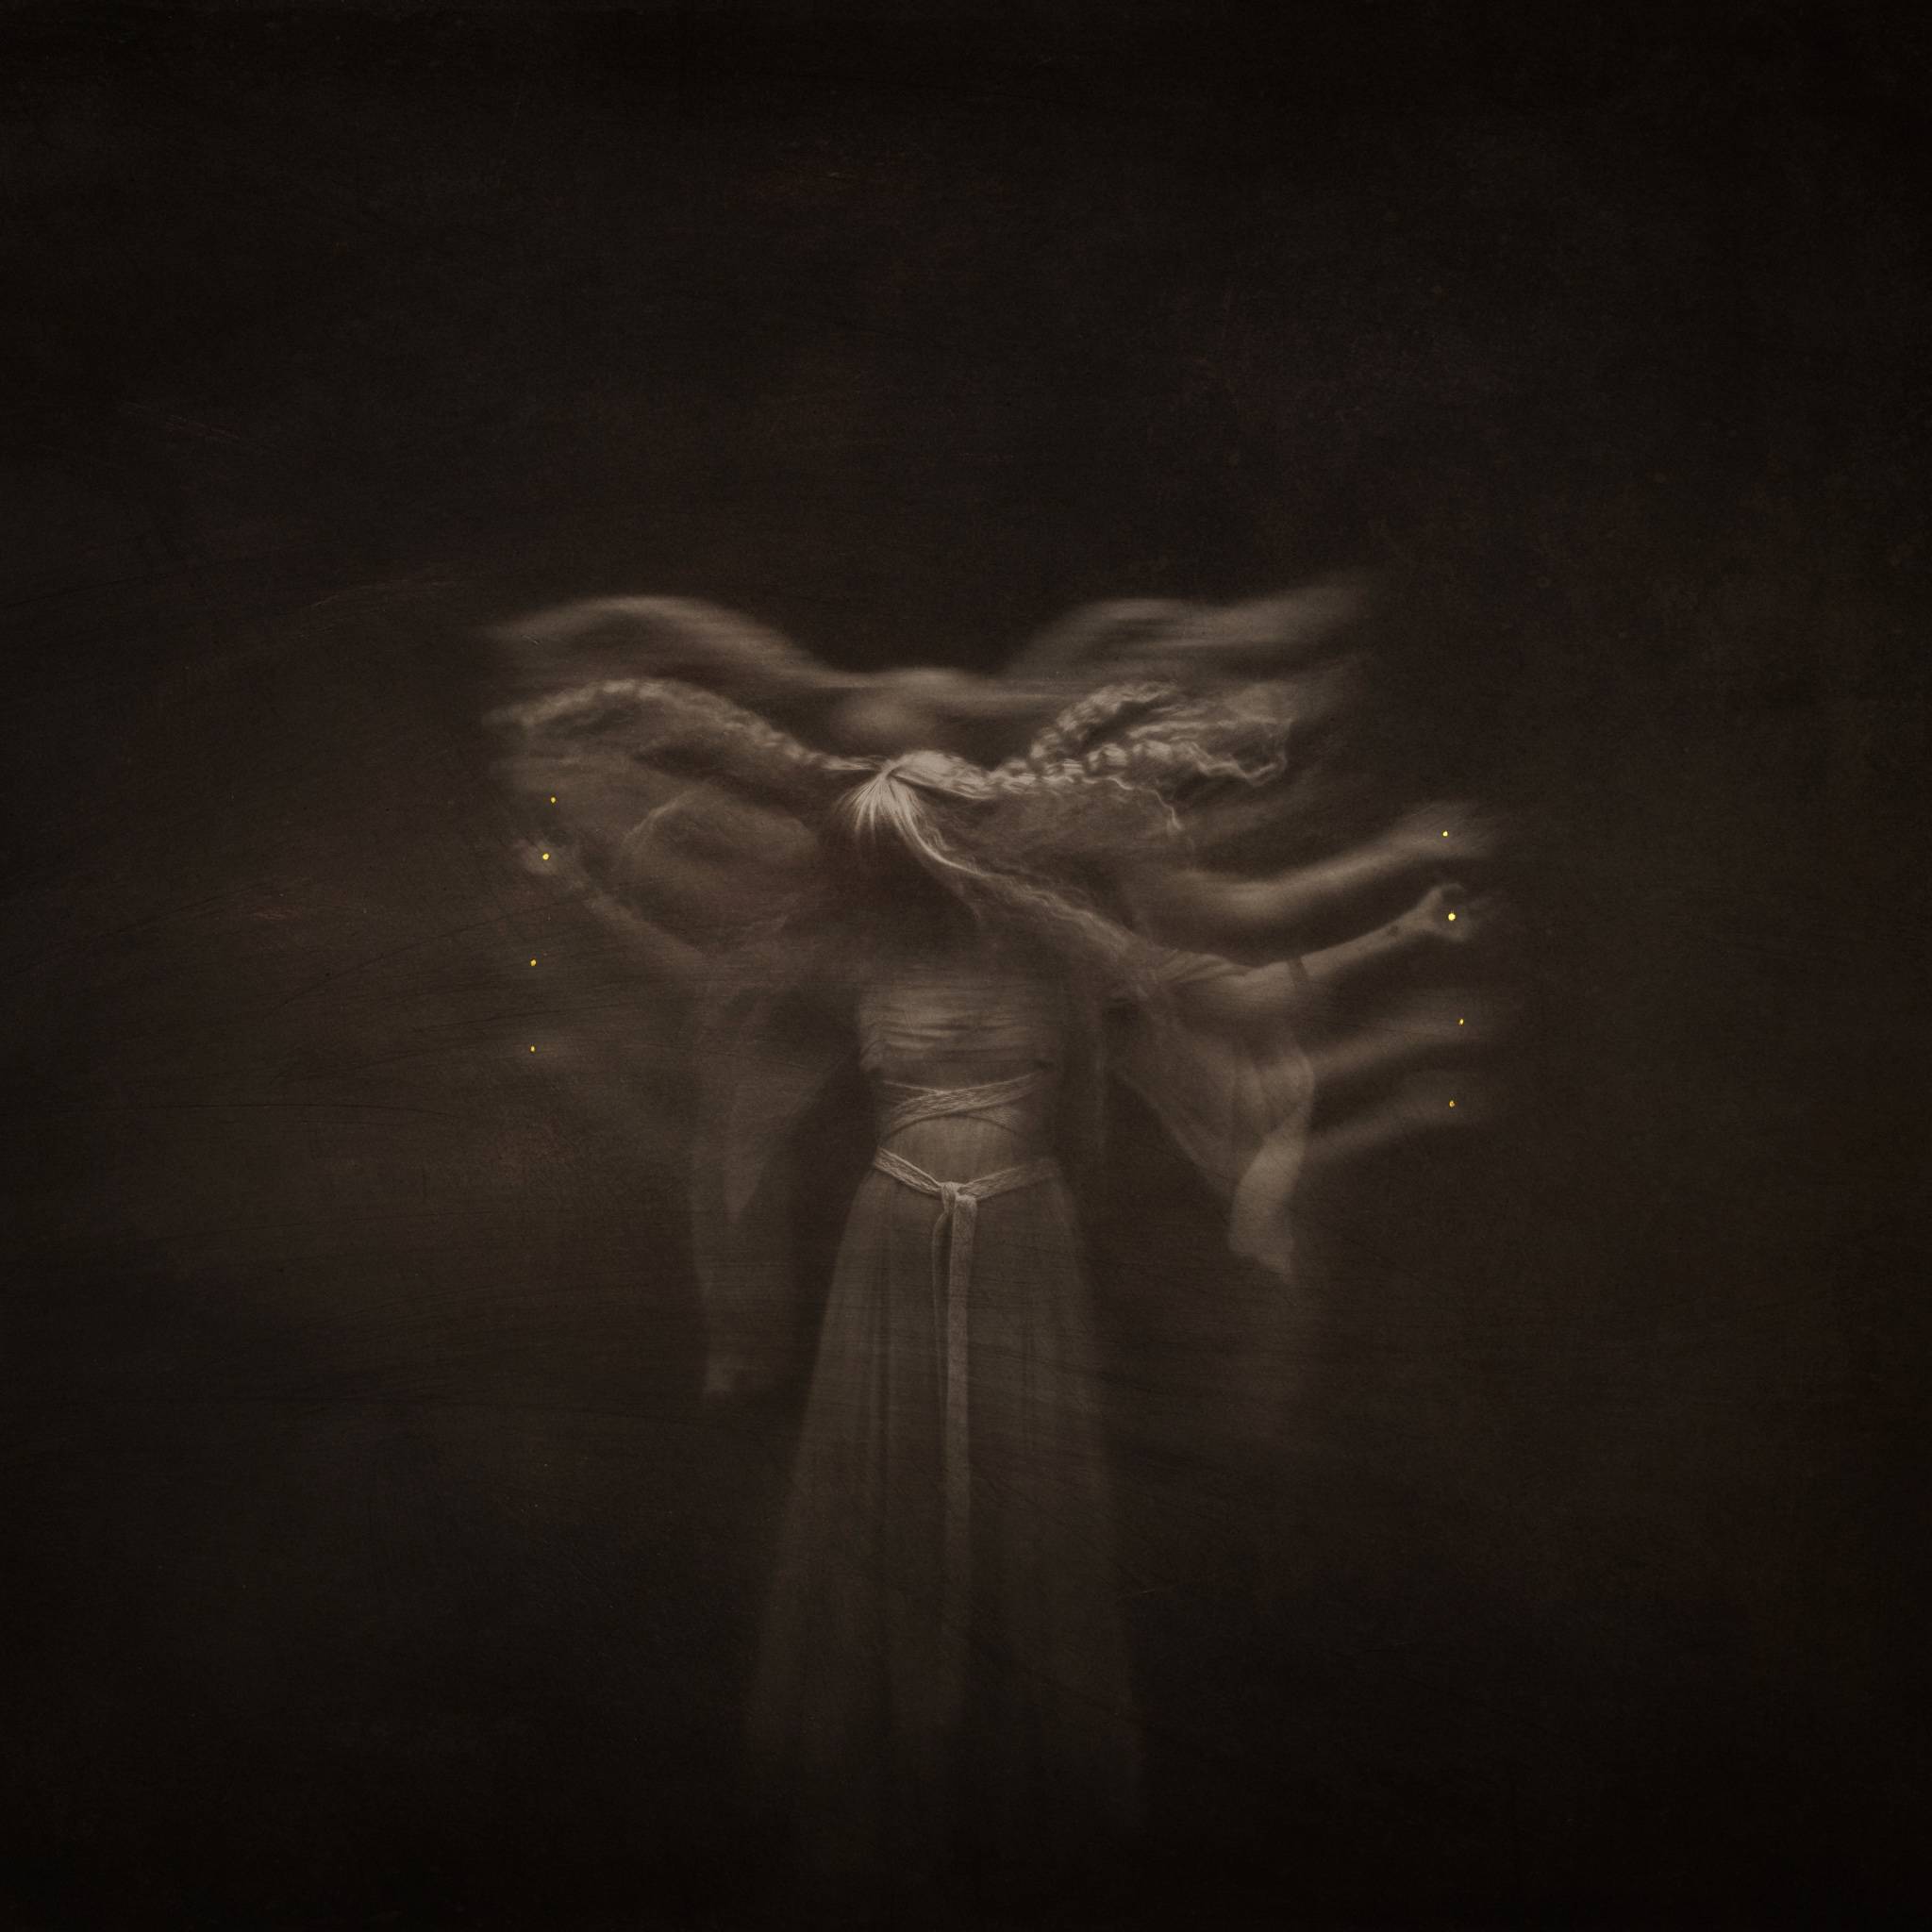
For landscape and travel images, try to keep your ISO between 100 - 200, maybe 400 this provides clean details. With the aperture, try f/2.8, f/4, or f/5.6, depending on your creative goals. From there, use your light meter to guide your shutter speed. If the shutter speed gets too slow, increase the ISO or put your camera on a tripod. Personally I love to explore slower shutter speeds they elevate an image from the traditional to something more artistic.
One last consideration for this style of photography is to underexpose your images a bit. With digital files you want to protect the highlights. The camera technology gets better and better, which means we have room in the shadows to make them brighter. However, if the highlights are too bright or overexposed, we may not be able to recover those. I find underexposing the image a bit helps me with punchier tones, straight out of camera.
Have Fun and Get Creative
Heading out to create work like this should always be fun! If you are going to a location that you love, create something different than you did the last
time. If you are going somewhere new, create something you haven’t seen before. Try small tools like the OMNI Filter system to add some rays of rainbows, stretch the scene, reflect it and more. Or lenses like the Trio 28, Obscura or Velvet for a unique look.
Want your shots featured by Lensbaby?
Be bold and shoot extraordinary! Make sure to tag your photos on IG with #Lensbaby, #ShootExtraordinary, and let us know what gear you’re using. 📸


Leave a comment
All comments are moderated before being published.
This site is protected by hCaptcha and the hCaptcha Privacy Policy and Terms of Service apply.