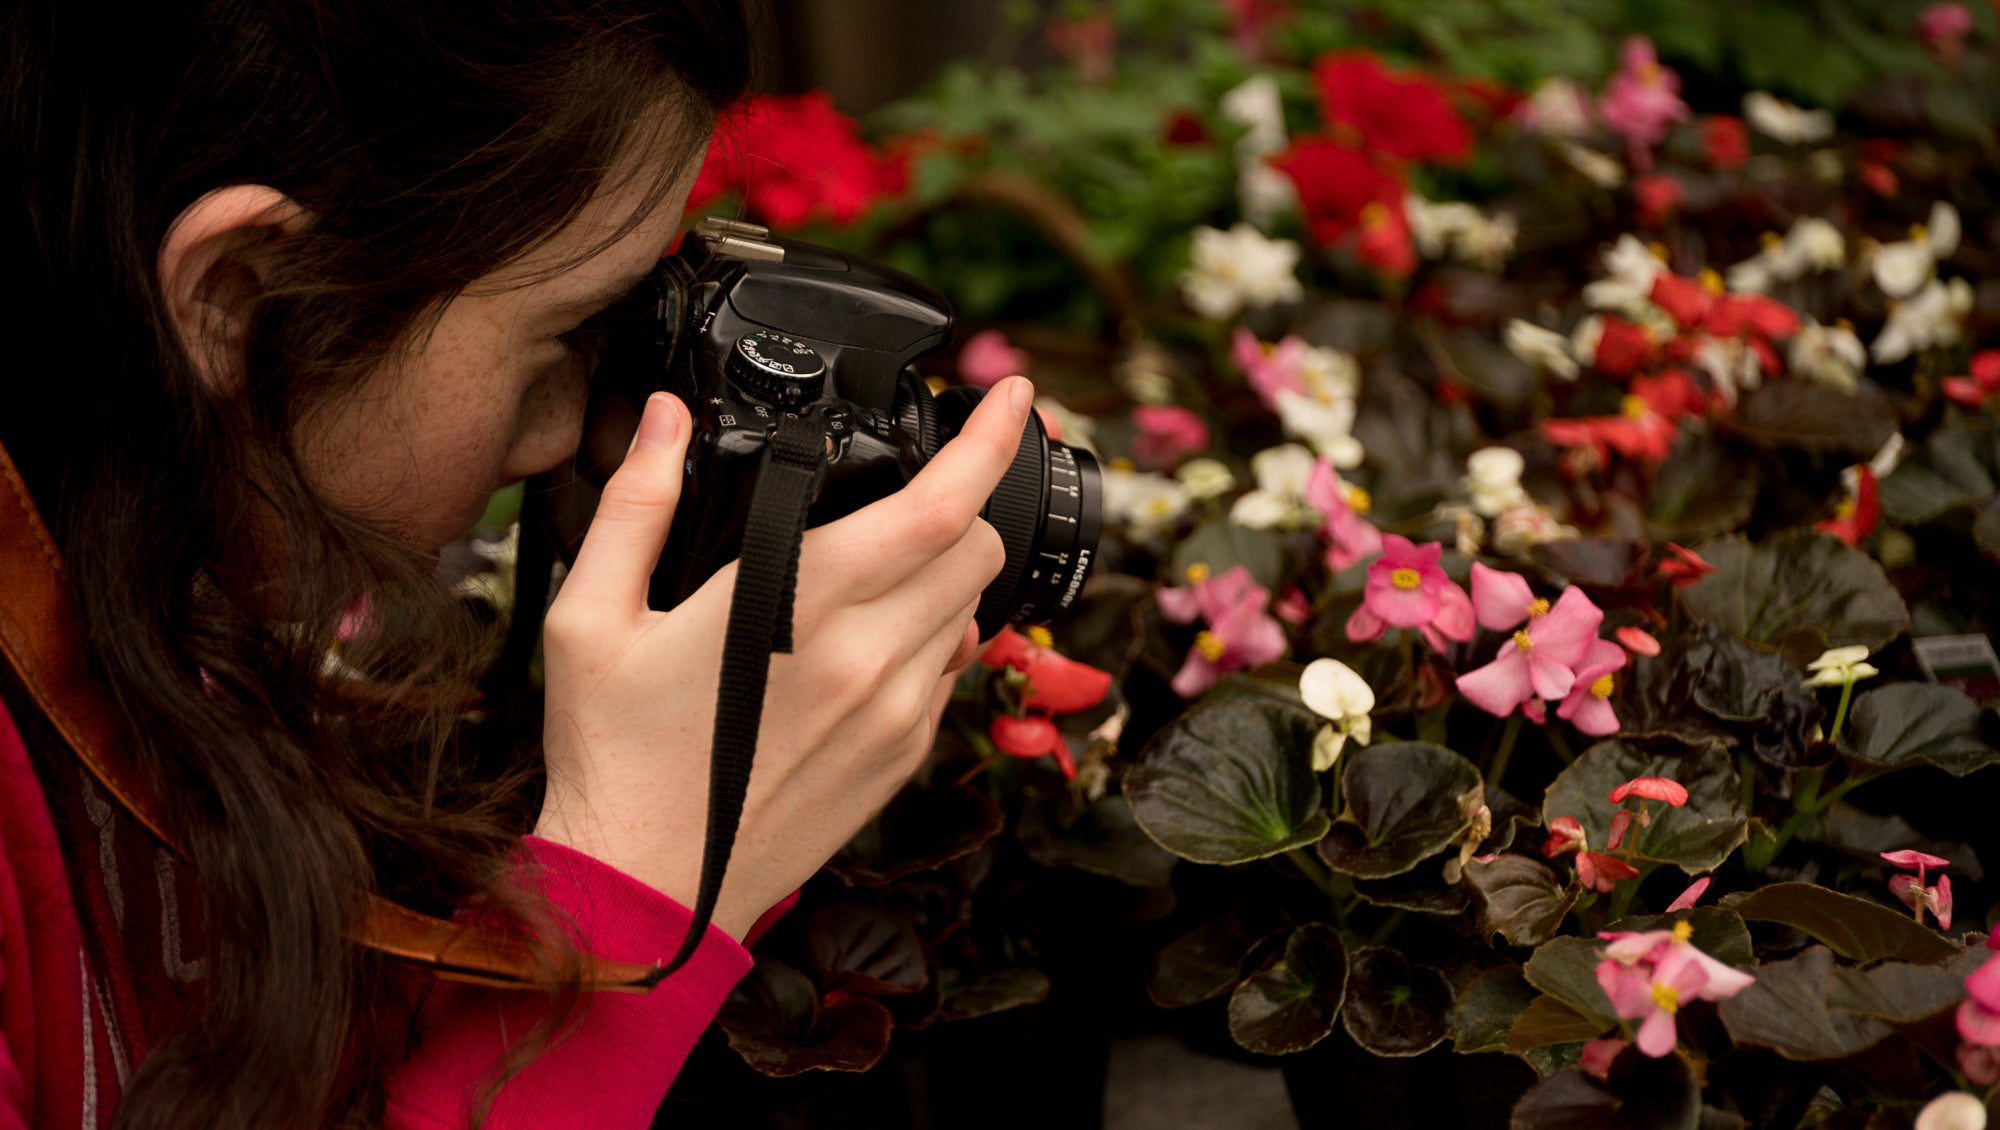
Traveling Burnside Project: Birgit Fostervold
The Traveling Burnside Project is underway! This project was created to give curious photographers the chance to spend two weeks creating whatever they want with Burnside 35. These photographers were selected by an application process in April. Now, our lenses are traveling around the world, staying for two weeks with each photographer. Birgit Fostervold, a Lensbaby enthusiast from Arendal, Norway, was one of the first Traveling Burnside Project shooters. Learn about Birgit's Burnside 35 experience below.
When I first learned about the Burnside 35 I was chuffed. My favourite lens is the Twist 60, but there are occasions where its 60mm focal length simply becomes too narrow. Street photography is one of the photography genres which intrigues me the most. A 35 mm lens would certainly provide a great tool for this, letting me capture the whole scene even when shooting in tight spots.
What I love about the Twist 60 and, of course, the Burnside 35 is the discrete swirly or twisty bokeh they produce. This, I find, is a helpful tool for putting your main subject in focus and isolating it from the background. And with a vignetting lever, an effect which I liberally apply to my images in post-processing – it was almost as if the Lensbaby developers had picked my brain for this one!
With the Burnside 35 in hand, I promptly started exploring the swirl and vignetting. I soon noticed that I had to be quite deliberate in choosing the aperture. This setting is actually the alfa and omega of the lens’ versatility. My first couple of photo walks did not produce very good images, simply because I was too eager to explore the swirl and thus used a large aperture for almost any subject.
The most important takeaway from my two weeks of Burnside shooting is that the lens is as made for capturing isolated subjects, but when you pick your aperture with care it’s versatile enough for most any if not all photo opportunities. Let me elaborate: When the main subject is placed in front of the background, not only will you be able to see the twisty bokeh but for landscapes, there will also be a 3D-like effect added to the image. See my photos of the large tree for a demonstration of this.

To achieve this effect, a large aperture – or shooting wide open – is required. The challenge is to place yourself at a distance from the subject which allows the whole or at least most of the protruding element to be in focus.
When everything in your photo is lined up with no obvious main subject, use a smaller aperture and treat the lens like you would any other regular lens. You may have heard of the “Sunny 16 rule”, which is based on using an aperture of f/16 for landscape photography? This absolutely applies to the Burnside 35 as well. However, with a specialty lens like this attached, you may fall into a trap where you’re too focused on the features that make this lens special. I know – because I did. See my portrait of the four girls in their national costumes: I wanted both a swirly background and all the girls in focus-- and failed. Had I followed my own advice above, placing myself further away from the girls, I may have had better luck.

Standing as close I was, I should have concentrated on the girls and set my aperture to f/8 or perhaps even f/11.
Using the vignette lever not only changes the exposure, it may also change the white balance of your picture. If you are shooting RAW files this is not of a huge importance, but for JPG-only photographers, it is definitely something to take notice of. I would suggest taking two or more shots of each scene, moving the lever between each exposure. This will provide you with at least one frame which is close to the original colour temperature of that particular scene.
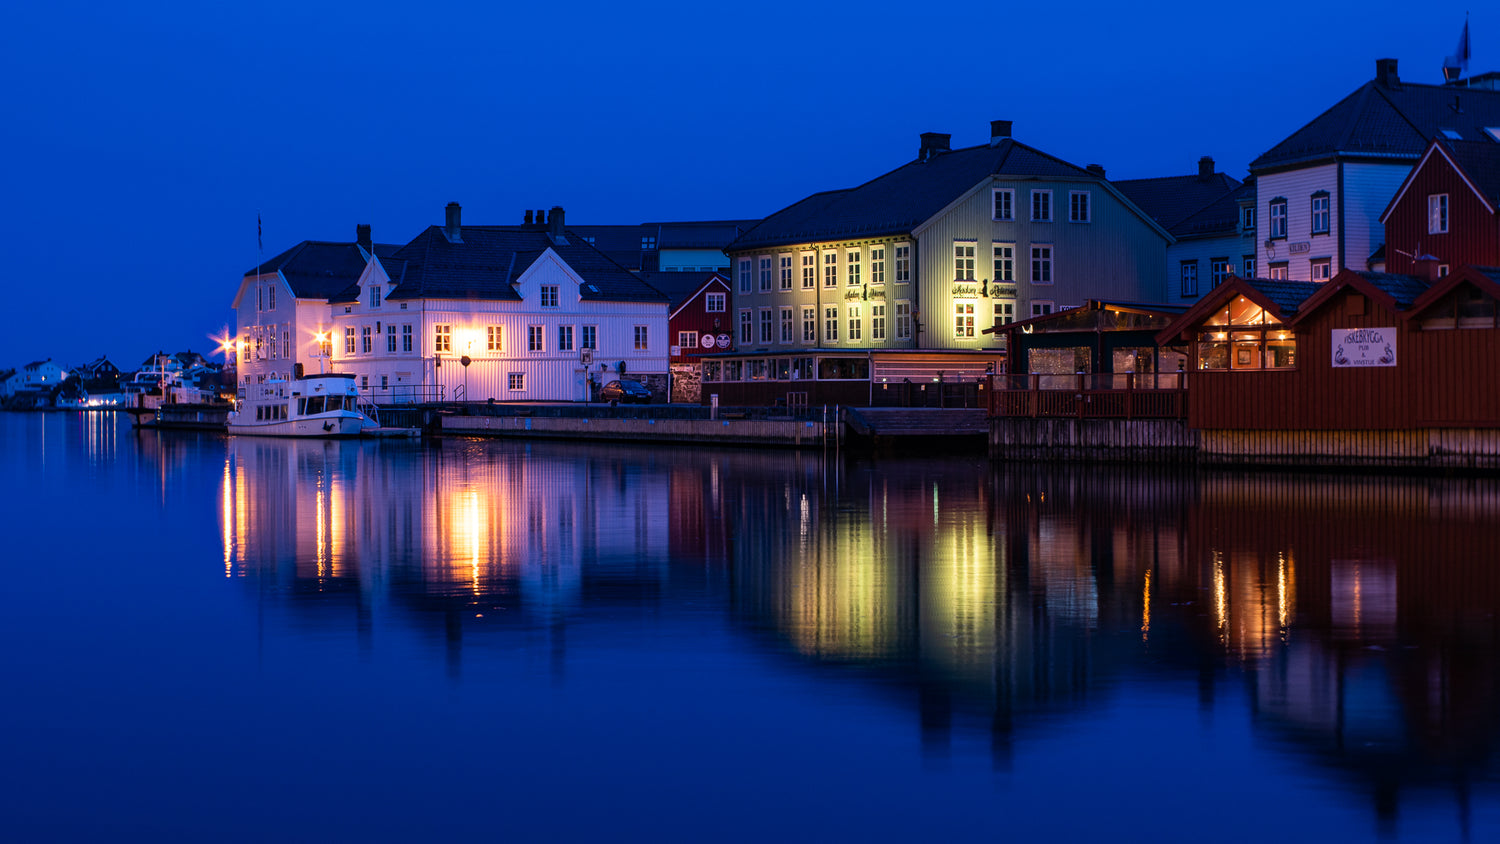
Shooting with Burnside 35 forced me to become more aware of which aperture I was using, more so than with any other Lensbaby (or regular) lens I have. With this in mind, I didn’t have to change my photography habits at all. I was able to shoot so many types of images: macros of flowers and insects, velvety patterns of flower beds, bubbly evening sun bokeh, landscapes with lovely depth and warm contrast, starry city lights at night, and of course portraits with the lens’ signature effect: gorgeous twisty bokeh. My portraits are of cows – that counts, right?
Two weeks is a short time, and during my Traveling Burnside Project, I didn’t manage to try out all of the things I had planned beforehand. I started this post by praising street photography – besides the photos taken during our Constitution Day I didn’t get around to trying that out with the Burnside 35 at all. I will get to that in time though: my experience with the lens didn’t curb my enthusiasm one bit, and my own personal copy will be on its way to Norway before long! Feel free to follow my journey at lensbirdie.com.


Leave a comment
All comments are moderated before being published.
This site is protected by hCaptcha and the hCaptcha Privacy Policy and Terms of Service apply.