April Milani is a military wife, a homeschooling mother of two wild boys, saved by grace, taking one move at a time. Until she was introduced to Lensbaby, the "Nifty-Fifty" rarely left her Canon body. Early on, she was quickly taken with the different optics and focal lengths that Lensbaby had to offer. Then the Edge 80 came out and it was "love at first tilt." The slice of focus was the look she had always dreamed of. But still, wanting the personal closeness she once had with her 50mm, there was a clear void in her photography world. Then - a couple of months ago - she bought the brand new Composer Pro II with Edge 50 and Macro converters. She was so over-joyed with her new find that she is now going to share with you her tips and tricks!

The day that I got my new Composer Pro II with Edge 50 I jumped for joy!!! It was sort of like meeting an old friend but for the first time. I had been shooting with the Edge 80 for so long that it took me a few days to get used to the new focal length. But that sweet slice of focus was there to make transition easy. I was very excited to shoot portraits in the way that I did for years - up close and personal.
With the following photos, I would like to show you some of the shots I have taken in the last two months with my Composer Pro II with Edge 50. I would also like to tell you why I choose the tilt and focus to get achieve the look I captured.
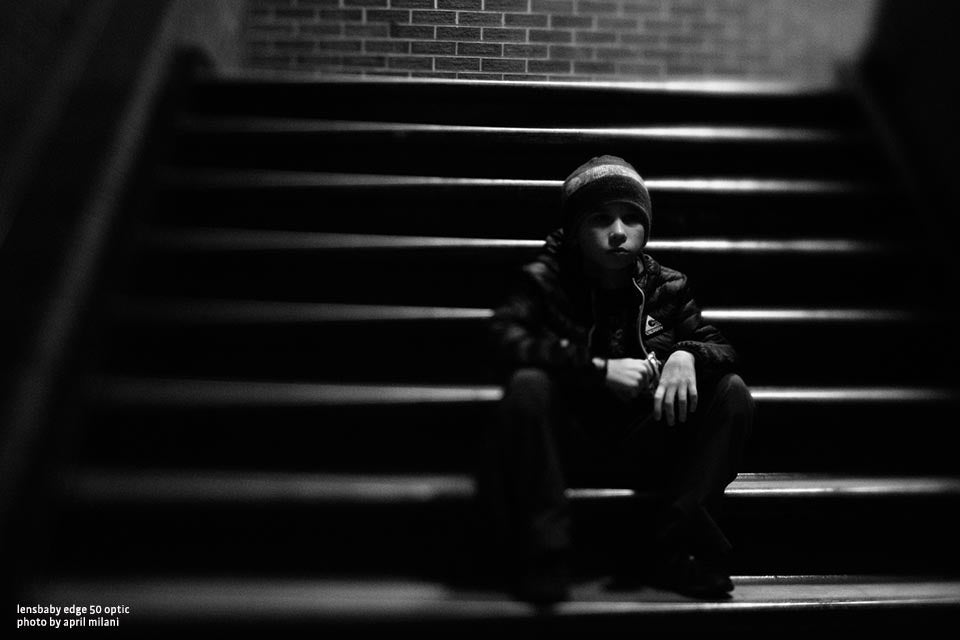
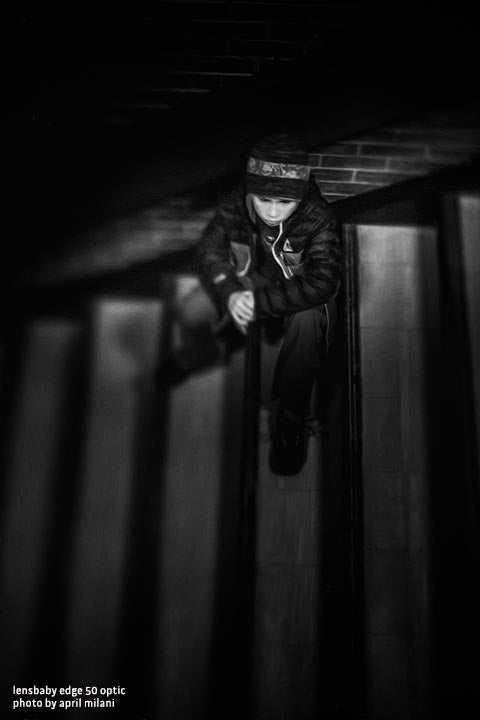
These (above) were my first two portraits taken with my new Edge 50. I needed to get into a very tight space to get these. Had I not used the 50mm, I would not have been able to have the open space around him. Yes, I could have used the Sweet 35 or 50 (these are beautiful for softer portraits as well), but I feel the Edge 50 gives it more of an urban feel.
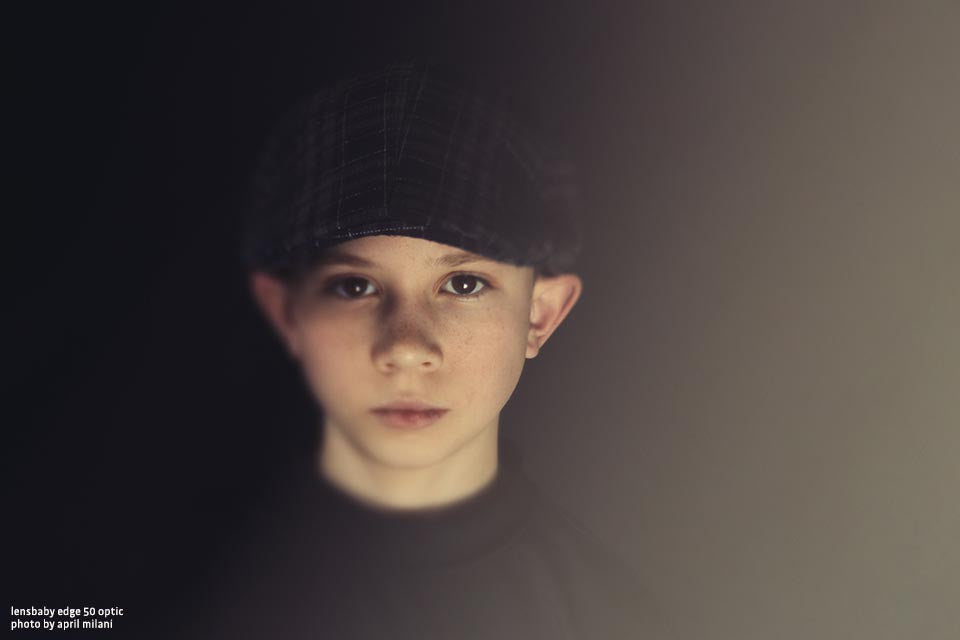
Here (above) I used only window light, a reflector, and a black sheet to absorb the light. Bending the lens toward the reflector caused this really cool effect. Remember to take your time and play with your light source. I usually bend toward the window light to create flare and effects. Think of where light might be bouncing, then tilt in that direction. You never know what you might get.
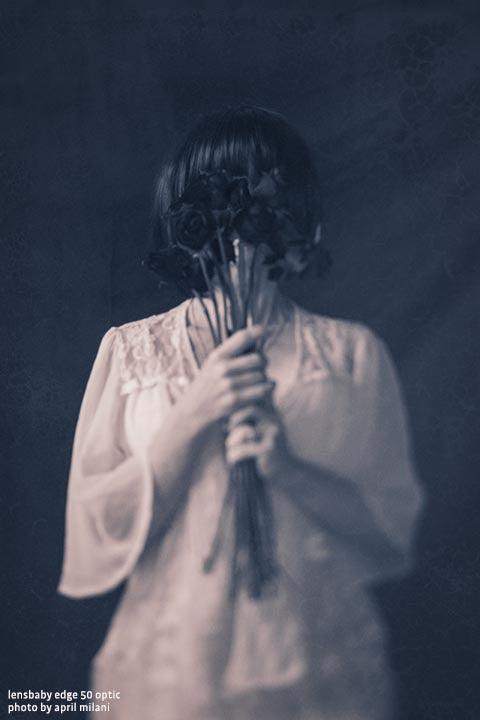
Self-portraiture brings on a new challenge in itself - you must know how to visualize your slice of focus. Then you must know or "guesstimate" where you think you might be when the camera clicks. You may have to take a few more photos than normal. When you get THE shot it is such a rush. My tilt is always set to help tell the story and create emotion. As you look at each photo, there's always a reason for my sweet spot - it's the place I want your eye to fall.
Below are a few more self portraits
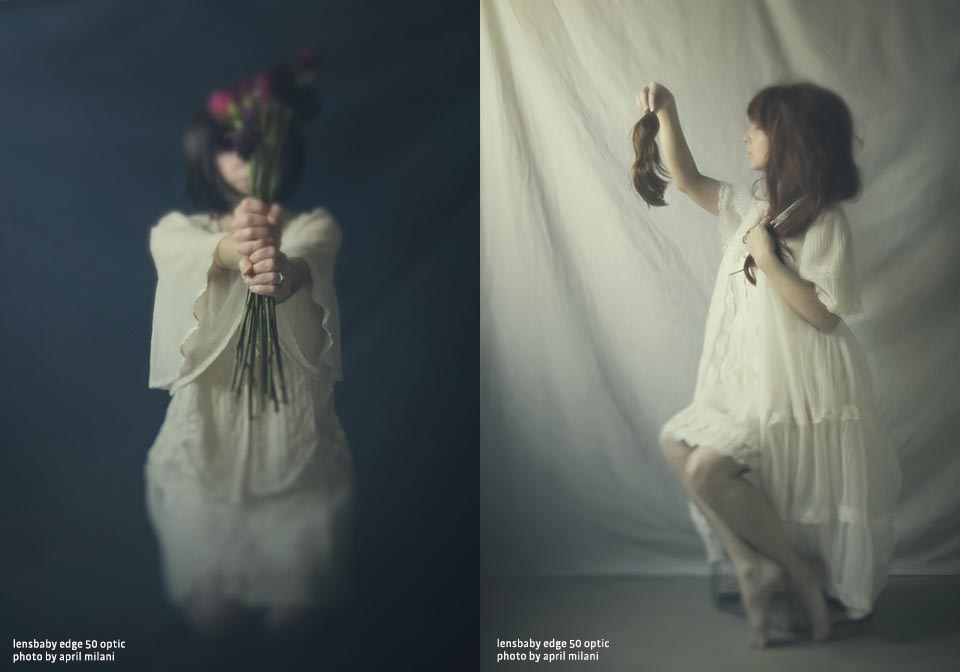
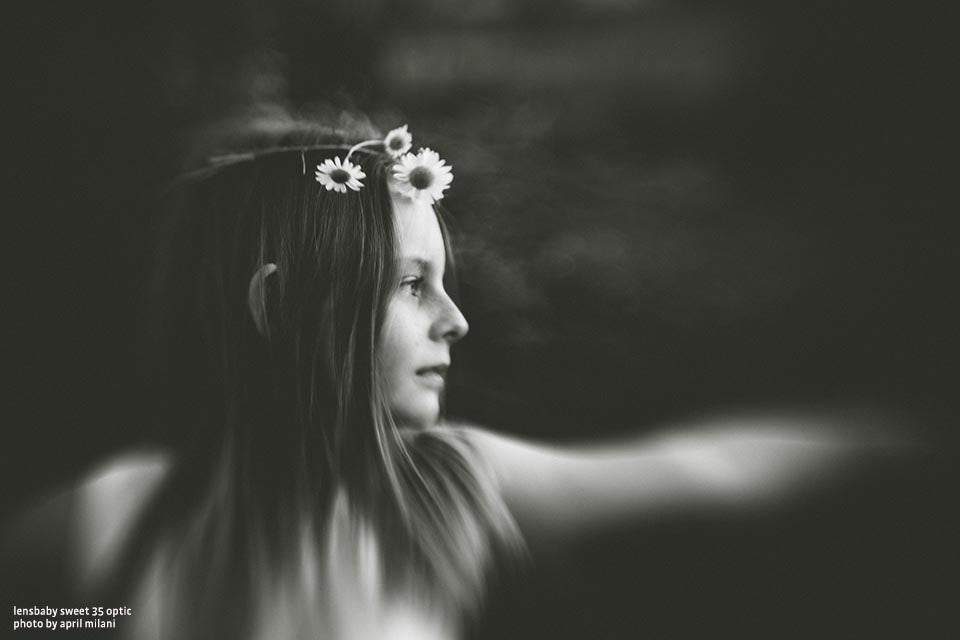
I use a lot of painterly effects on my photos. Using intentional blur is what really makes them into pieces of art. I am always keeping in mind what story I'd like to convey, what I want the viewer to see.


Nailed the last.
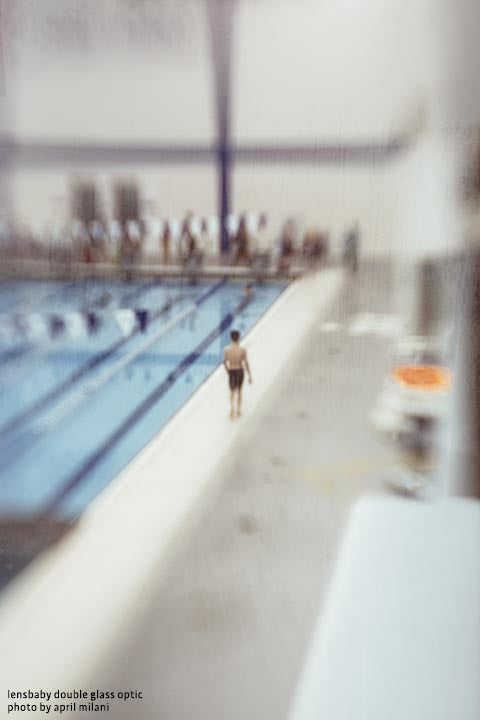
My boys are on a competitive swim team, which puts us at the pool almost daily. I quickly got bored of taking conventional swim shots. Then I found that adding blur enhanced the motion. In the beginning I took a ton of shots. It was all about learning. Now I can get the shot in just a few clicks. Just as the coach tells my boys “Your practice will pay off.” And it will, so click away. Keep in in mind you can tilt in any direction. Think of where your subject will be, then bend with intention. In the photos above I knew his arms would be spread wide so I choose to have my slice of focus go down the middle to mimic his body form.
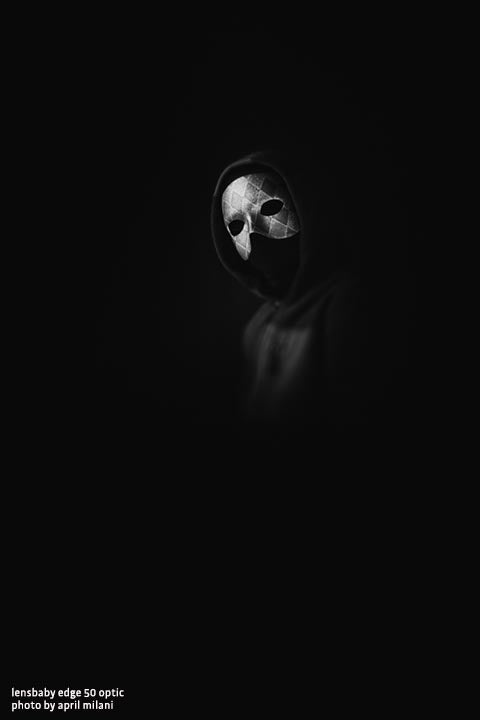
I wanted the focus on the mask to be strong. Having the blur fall on his chest gives the feeling that he is floating. (It also hides the zipper. You can use blur to hide things you don’t want seen.)

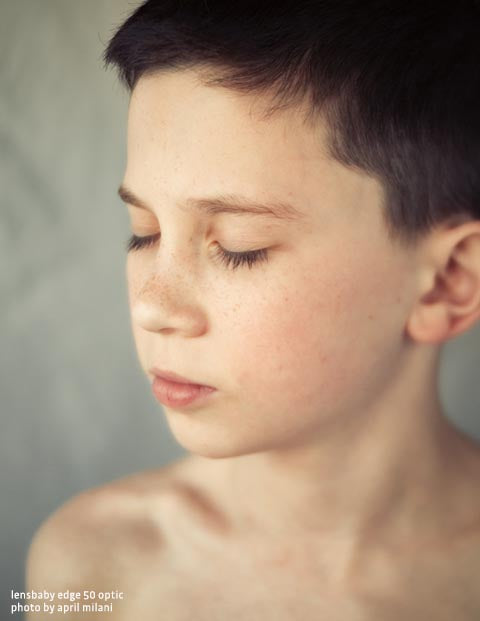
I love doing portraits by a window. It is my go-to lighting. Above is another example of how I am able to get closer when shooting portraits. I almost always tilt toward the light. I knew I wanted to have "fill light" so I used my reflector in these.

I have an ongoing project called “Things to remember.” Like the way he always wraps his fingers around the page of the book when he reads. Or the way my oldest likes to be alone with his thoughts. Before we know it these moments are gone and we move on to new ones.

Where I would have used a traditional lens, I now use my Lensbaby. It takes the everyday shots and turns them into art.

Macro converters with the Edge 50
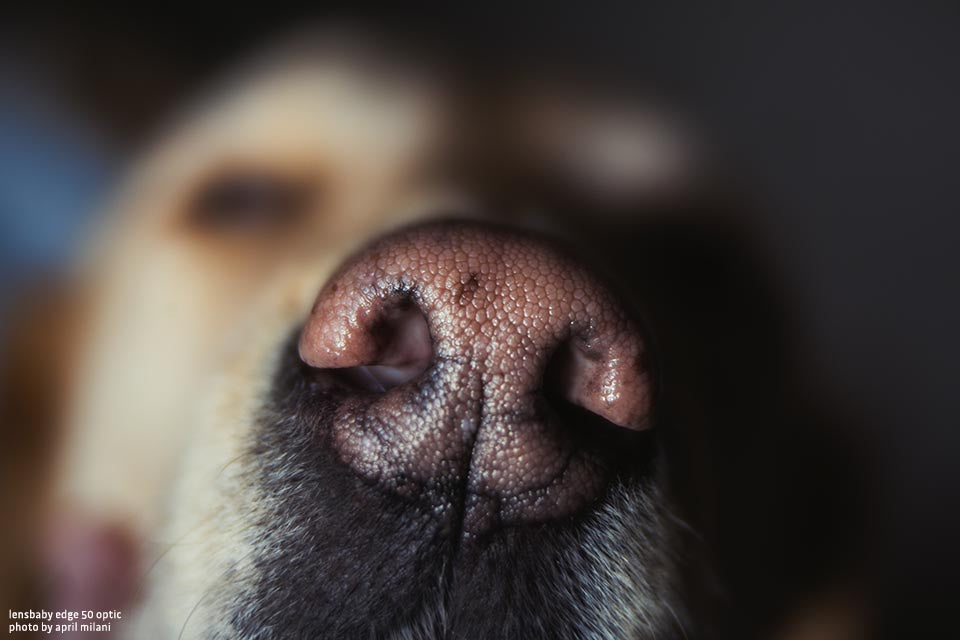
Macro converters with the Edge 50
These are my first two shots with the Macro Converters. I was blown away that what I thought to be a simple ring could actually turn my Edge 50 into a whole new lens, and could let me make photos like these. My mind was exploding with the possibilities!
This has been a review of my first thoughts of the Edge 50. But while I am here I would like to show you some of my favorites from some of the other grat Lensbaby Lenses.

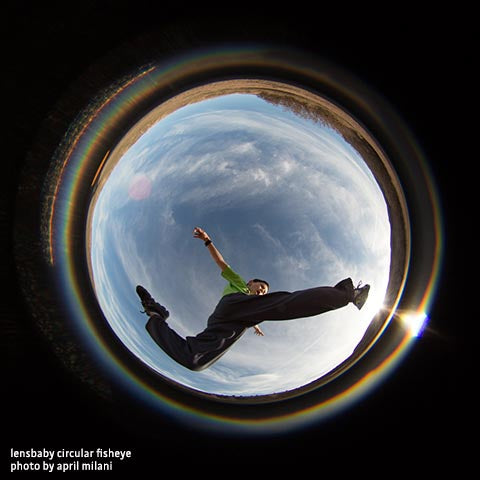
Circular Fisheye
The Circular Fisheye brings out the fun side in all of us. I laid flat on the ground, pointing my lens to the sky. Then I had my son jump over me. Here is a tip: Look all around you as everything will be visible. This lens sees everything. I find 99% of my shots with this lens are SOOC. The colors from the flare are always spot on.

Velvet 56
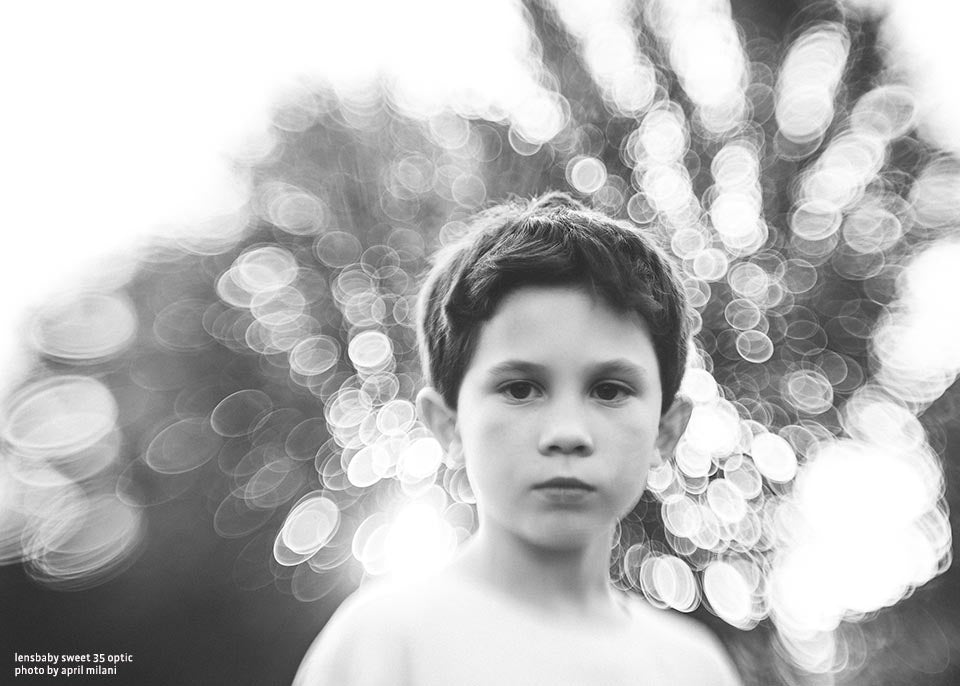
Oh the glow!! The blur you get is like none of the others. The focus is pin sharp if you want it or, soft and painterly. Even at f/4 I get amazing bokeh.
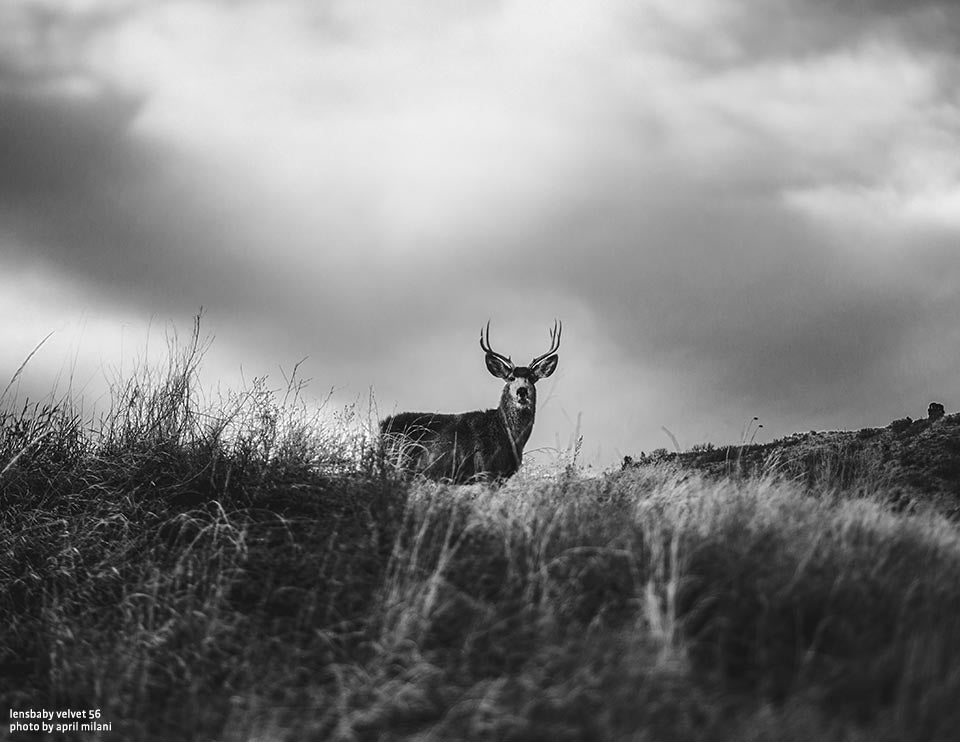
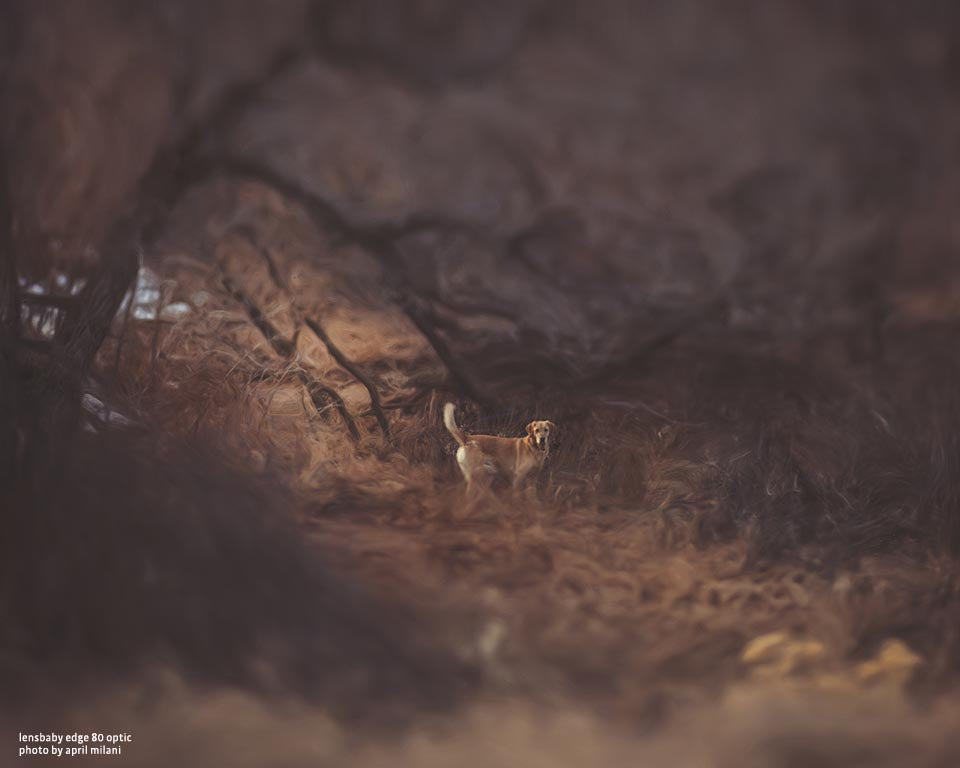
Then you have your unexpected moments. These are the times that you are so happy you know your gear. I could feel something behind me. I had time to turn around get my focus and he was gone.
Now with all this said, I am a firm believer in "learn the rules, then go out and bend them." This shot follows none of the rules I set for myself. Thank you for letting me share my thoughts and tips with you. I would also like to share with you that am teaching Lensbaby workshops over at The Define School starting in July. More info coming soon.
If you would like to see more of my Lensbaby work click here.



Leave a comment
All comments are moderated before being published.
This site is protected by hCaptcha and the hCaptcha Privacy Policy and Terms of Service apply.