


It’s that time of year again! Back to school! The time that we send our little ones into another school year to learn, grow, and experience the world. We sometimes forget how fast they grow and how quickly time flies. We know you probably have a million photos of your kids and we wanted to give you some ideas about how to make your next photo shoot a little more creative and a lot more fun!
Coming up with ideas for photo shoots can be overwhelming when you have life happening all around you. We want to inspire you! So we took a trip to our local dollar store to snag a few supplies for our back to school photo session. Books, clothes, food, and school supplies are expensive and for most of us as parents our number one priority. That is why our goal was to create our scenes for less than $20. We made a shopping list, did some brainstorming, and came up with the ideas that you are about to see and read about. This is not a post of inspiration that requires you to have multiple Lensbaby lenses or even a camera for that matter (yes, your cell phone camera can and will work), we simply want to spark your creative thought process about how you can create your own unique back to school photo ideas without sacrificing other expenses.

Here is everything we bought:
2- 3’x8’ Polka Dot Wrapping Paper
1- World Map
1- Mason Jar
3- Books
1-Box of Pencils
1-Box of Letters
1-Scotch Tape
1-Double Sided Tape
1-White Foam Board
2-Burlap Pieces
1-Chalk Pen
1-Chalk Board
1-Box of Twine
1-Foam Globe
1-Chalkboard Letters
Dollar Store total: $20
Apples: (Not from the Dollar Store)
Full Disclosure:
We had some items already. These included the desk, wagon, and a few books. Many of these things simply add to the scene and can be found in your local classifieds for next to nothing.
Building the Sets:
We wanted to keep things simple and streamlined. This meant crafting our sets quickly and with as little extra effort as possible because we know how busy life can be. We also know how tough it can be for kids to stay focused for more than five seconds. Since we didn't have backdrop stands or a lot of room we wanted to utilize our space in the most efficient way possible.

(Gnome Not Included)
Our first set was a very traditional school scene. A desk, books, pencils, backdrop, and an apple for good measure. As we shot we added and took away different pieces to create even more scenes. We used some old black foam board we had floating around the office for a makeshift floor, but you can easily use the backdrop or your floor for the same results. A huge misconception is often people think they have to have a studio or a ton of extra space to make creative portraits. We simply rearranged the furniture and taped paper to the wall. You can do this in your home!
To begin we set up our background, which as a whole may have been the most difficult step in all of our set ups. We placed the two rolls of paper side by side, made them as straight and even as possible, and taped them on the back seam. The key to doing this is being patient as you simultaneously tape and unroll the paper. This is tough to do solo so if you can tag in a partner, we recommend it. After getting the two rolls secured to each other we placed our double sided tape on the wall and stuck the backdrop to it. This is the most simple way to set up your backdrop.
Off Camera Lighting vs. On Camera Flash vs. Natural Light
There is no right way or wrong way to light your portraits. It’s all about achieving the look that you want.
Off camera set-up: This can be achieved with any speedlight, diffuser, and stand. Keep it simple. If you have a light meter you you can double check your exposure. The trick to off camera flash is to use it to create the image that you want to see. For this shot we wanted something a little more moody with darker shadows and highlights that would allow our students face to be the focus of the photo.
 (Composer Pro II with Sweet 50 @F2.5 ISO 200, 1/50th Sec Flash Power at 1/4th)
On Camera Flash: Be careful when shooting with on camera flash because you can cast an extremely harsh light. Using your built in bounce diffuser, bouncing the light off of a wall or reflector, or adding using something like parchment paper taped to your flash will help soften the light. In this shot we bounced our off camera flash into the piece of foam board that we picked up at the dollar store.
 (Twist 60@F2.8 ISO 800 1/160th Sec. Flash Power TTL)
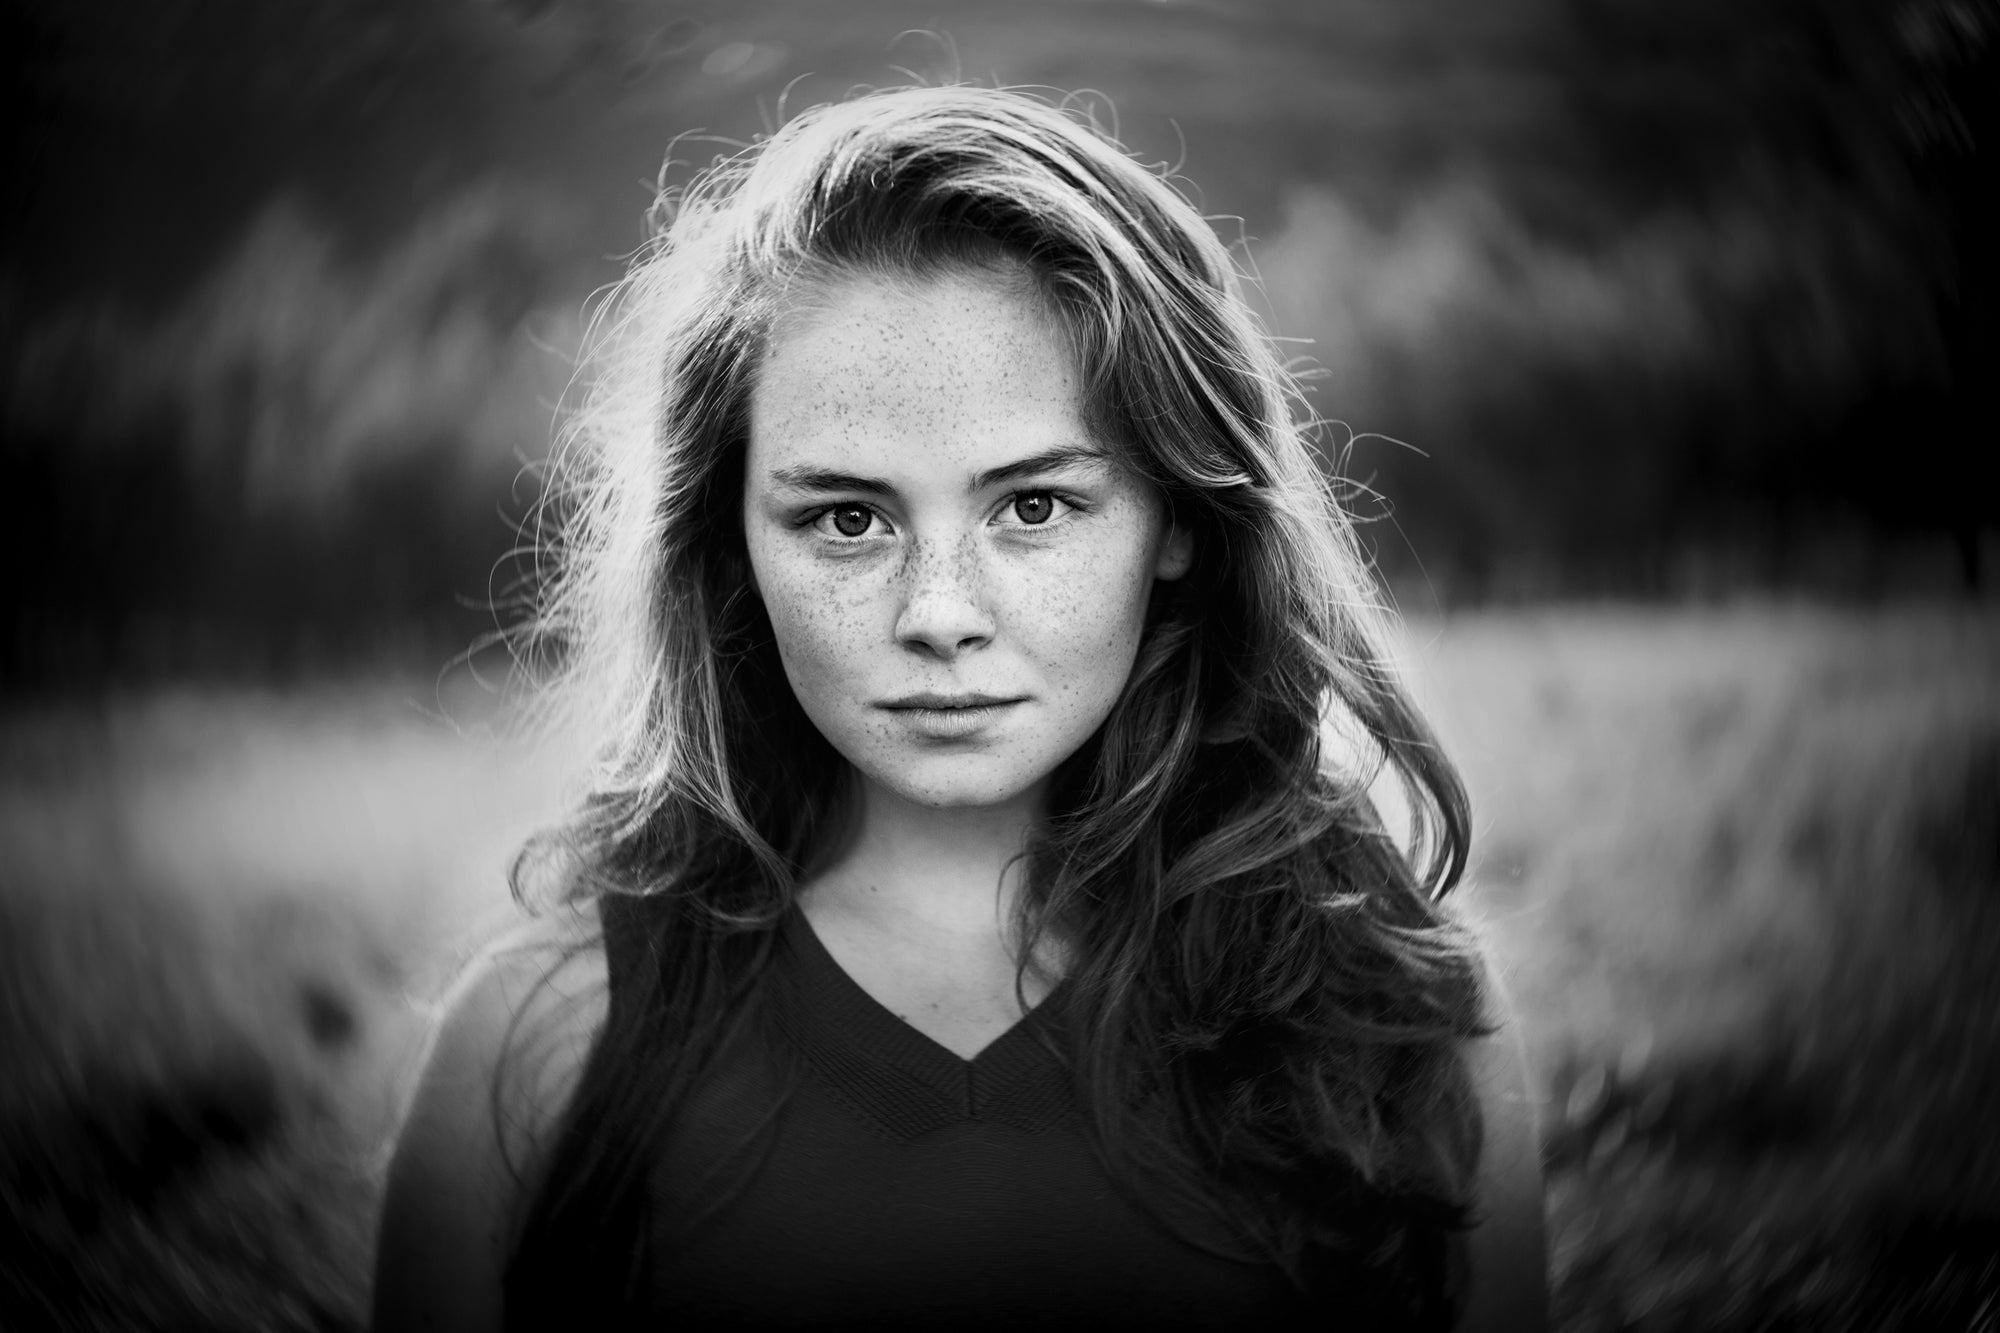
Natural Light: Shooting portraits in natural light is easy as long as you know how to use the light the correct way. In the shot below we only had access to a skylight and had to use our handy foam board to reflect the light. The most ideal way to use natural light is split (half the face in light, half in shadow) or loop lighting (light placed slightly above your subject creating a subtle shadow of the nose across the cheek). Here we are using a more direct light due to the position of the skylight and how we were able to reflect the light.
 (Composer Pro II with Edge 50@ F3.5 ISO 560 1/60th Sec. Natural Light with Reflector)
These are very simple scene set-ups that can result in fun back to school portraits of your child regardless of age. Adding the creative effects of Lensbaby lenses only allow for more control over the level of creativity that you have during your photo shoot!
Our second scene was even simpler than our first. We taped our map and chalkboard letters to the wall. We wanted to make a simple yearbook style photo with this background.

(The foam board we are using for a reflector is sitting on a chair directly behind camera with the flash pointed at it.)
Being creative even when taking traditional school photos is a part of the fun. A little bit of motion frozen in time with your flash can take your portraits to the next level. Be patient if you attempt a shot like this. It may take you a few tries to nail it!
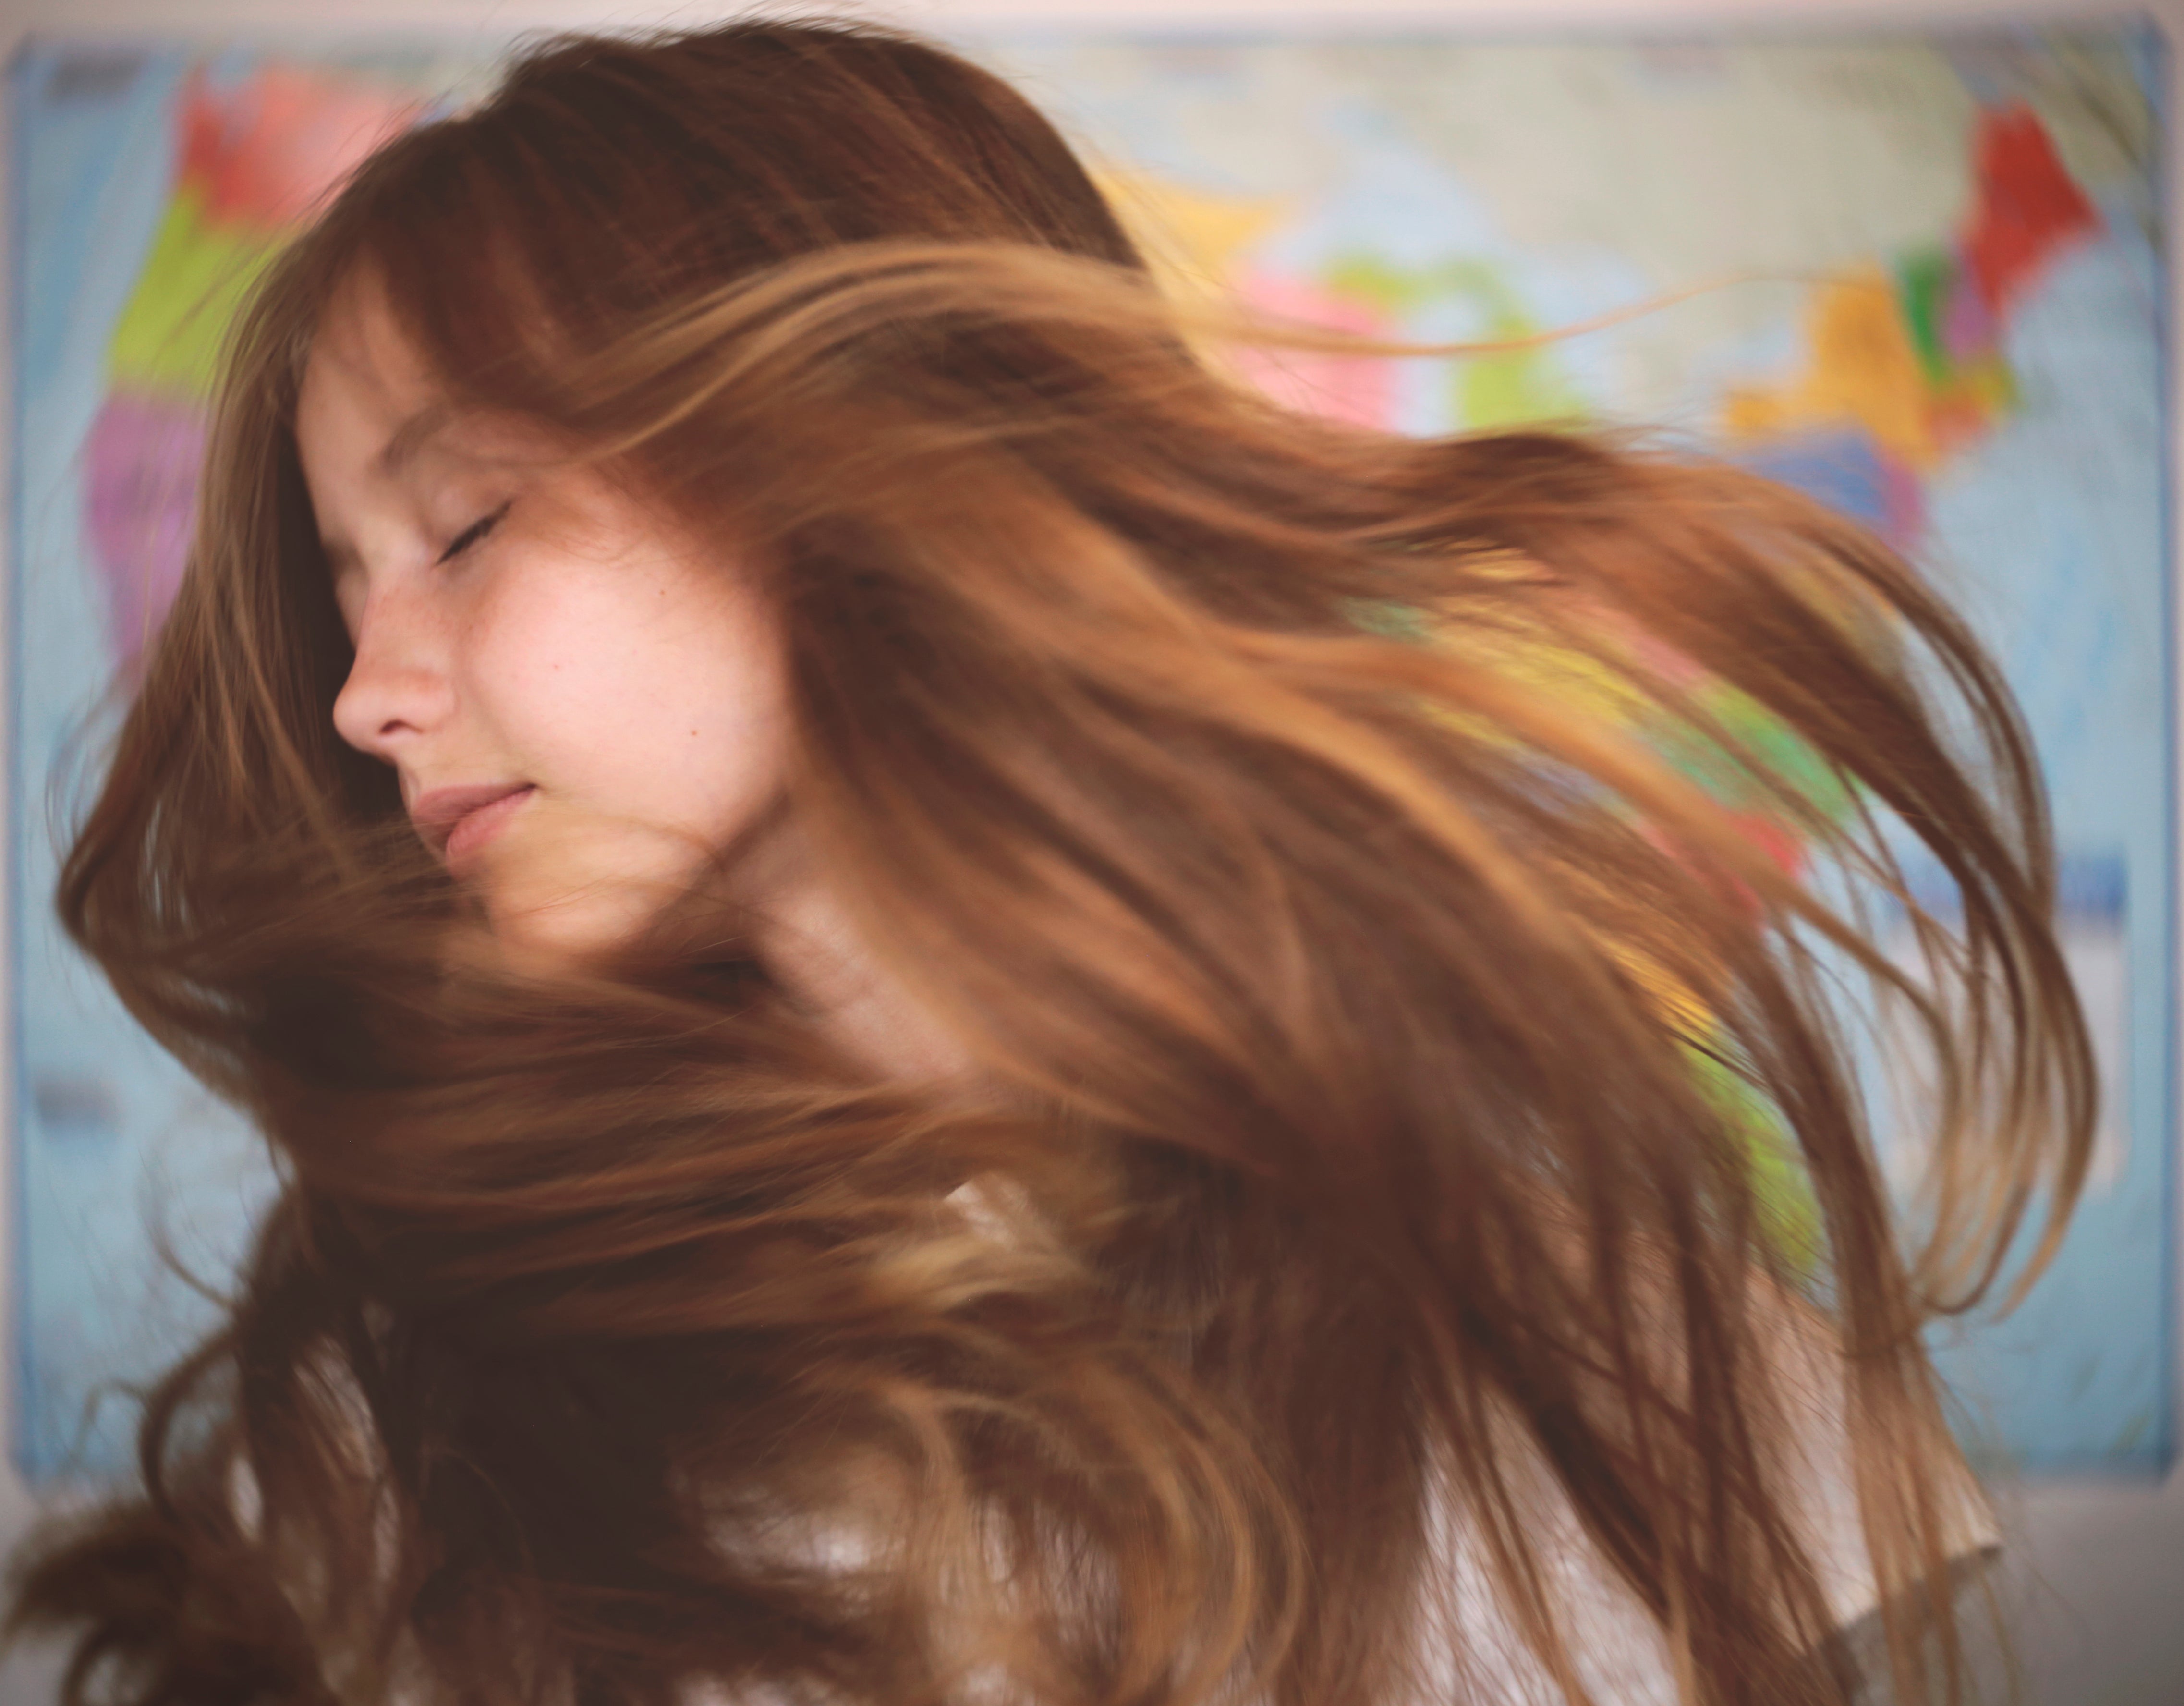 (Twist 60@ F3.0 ISO 800 1/180th Sec. On camera flash aimed at foam reflector on TTL)
For our final scene we popped down to our local park. We wanted to round out our back to school photo session with a new environment and get nature involved. One of the best things about heading to a park is that you don’t have to worry about creating a backdrop. Another great benefit is being able to use natural light! Again, we wanted to keep things nice and simple. All of these set up have been about making the most out of the least.
 (Composer Pro II with Edge 50. F5.6 ISO 200 1/60th Sec)
We created beautiful bokeh with our Velvet 85 by shooting this portrait with highlights behind our student. Thinking about being versatile in outdoor situations is important because you don't want to limit yourself to only shooting the scene you created.
 (Velvet 85F2.0 ISO 400 1/200th Sec)
You can also use your school props as accessories for your photos.

(Composer Pro II with Sweet 35 F2.5 ISO 100 1/250 Sec)
Creating your child's back to school photos should be fun and exciting. We want your Lensbaby to be a part of that excitement but more than anything we want you to be able to capture memories you'll cherish. Adding effects, cool bokeh, and fun backgrounds is all a part of the experience and we hope that you can take our ideas and make them your own. You can really stretch $20 with an open mind!
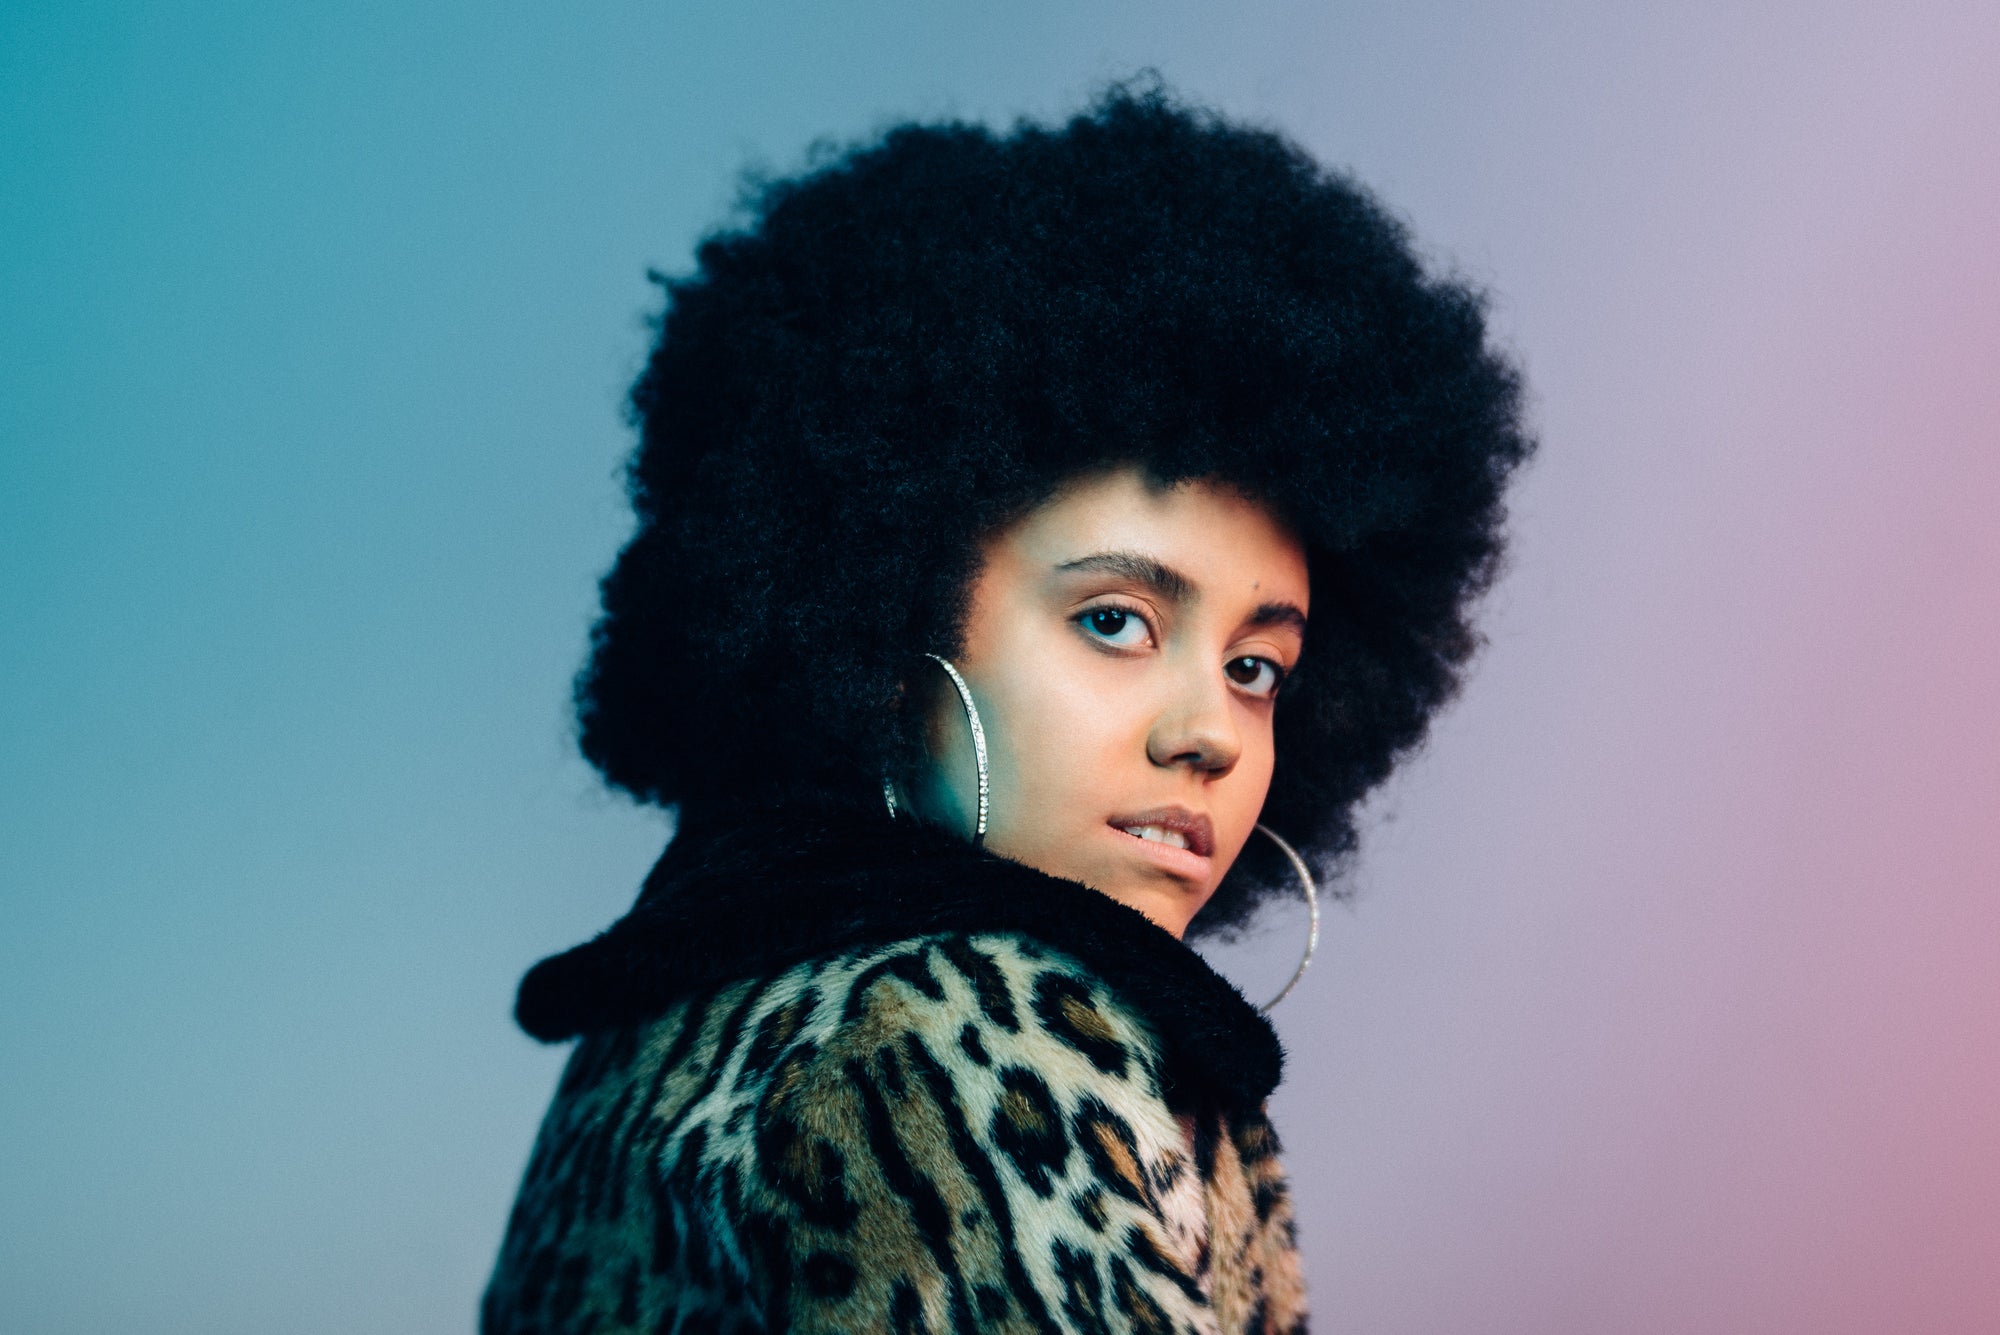
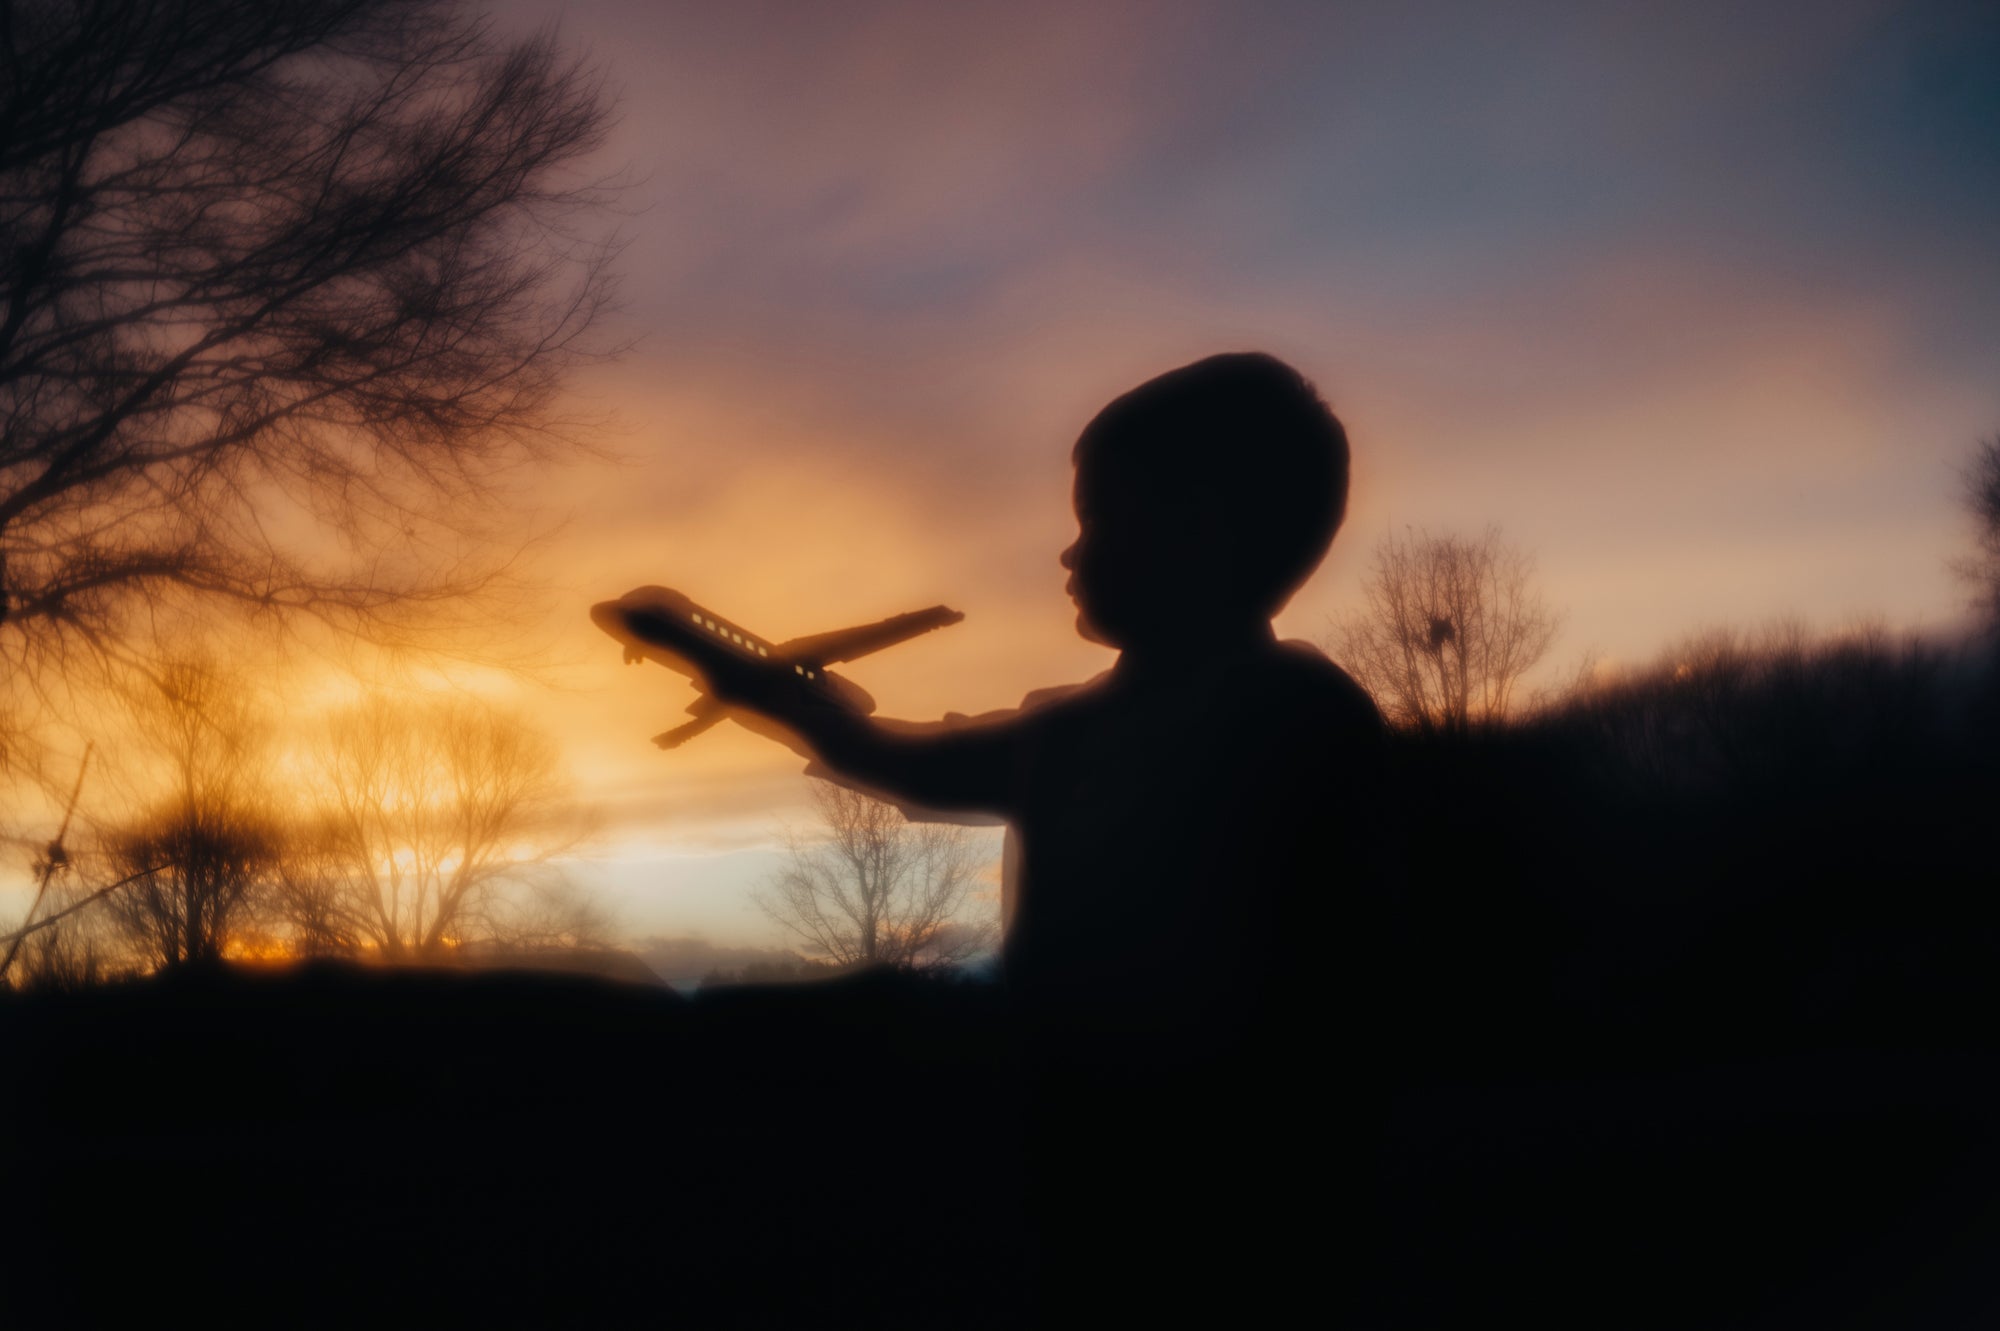
Here are some more of our favorite photos:
We used a variety of lenses during our shoot to capture a range of effects. Check out our store to find the right lens for you: https://lensbaby.com/shop/
We'd love to see your creative back to school photos. Email them to us at submissions@Lensbaby.com and tag us on Instagram @seeinanewway#lensbaby!