


By Lauren Wilcox on 11/18/15
DYI: Modifying a Case to Fit the iPhone Mount
FINDING THE RIGHT CASE
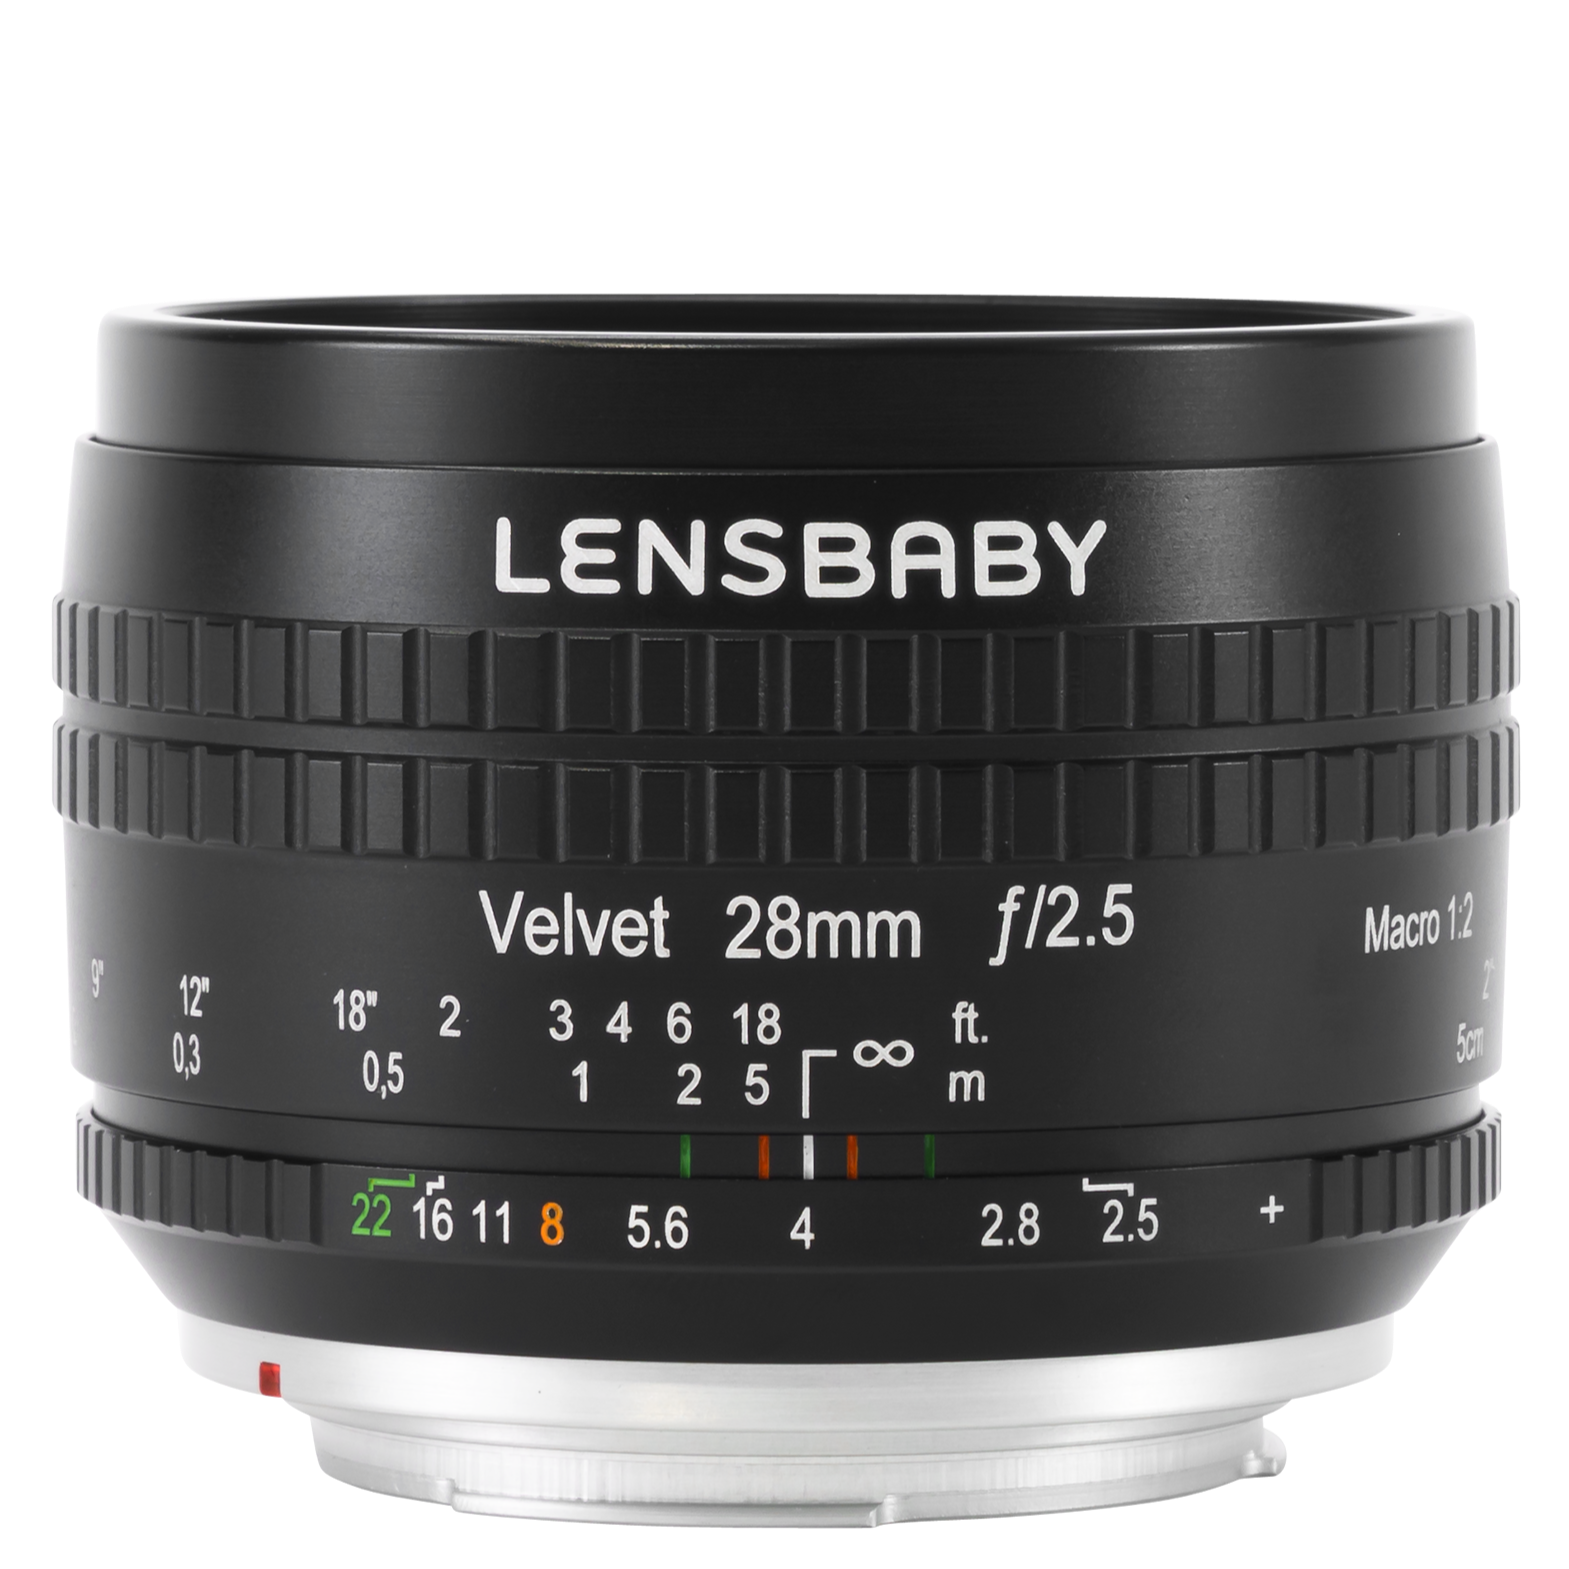
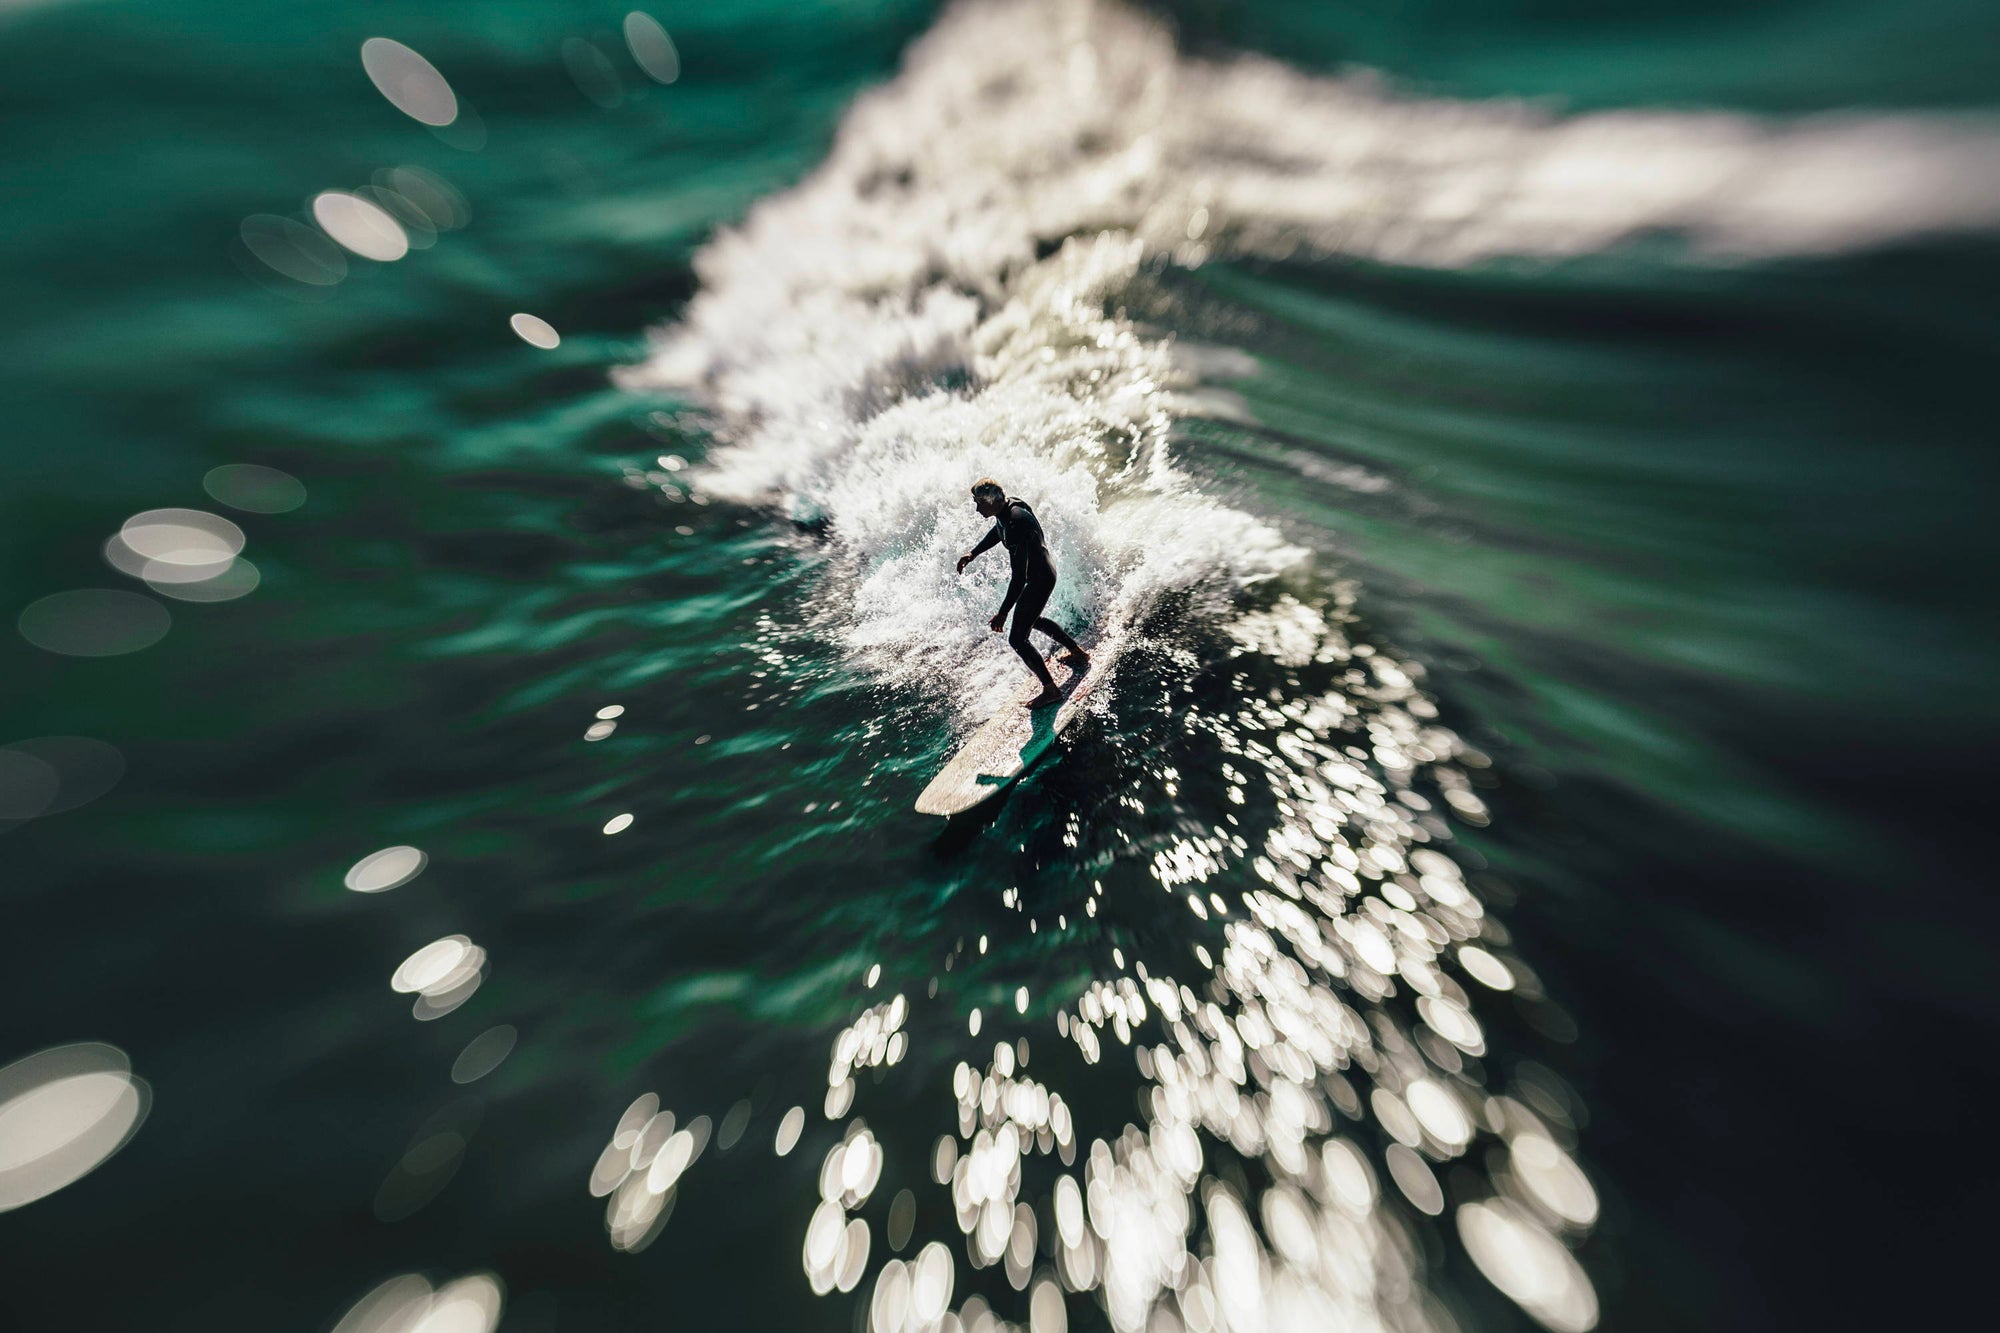
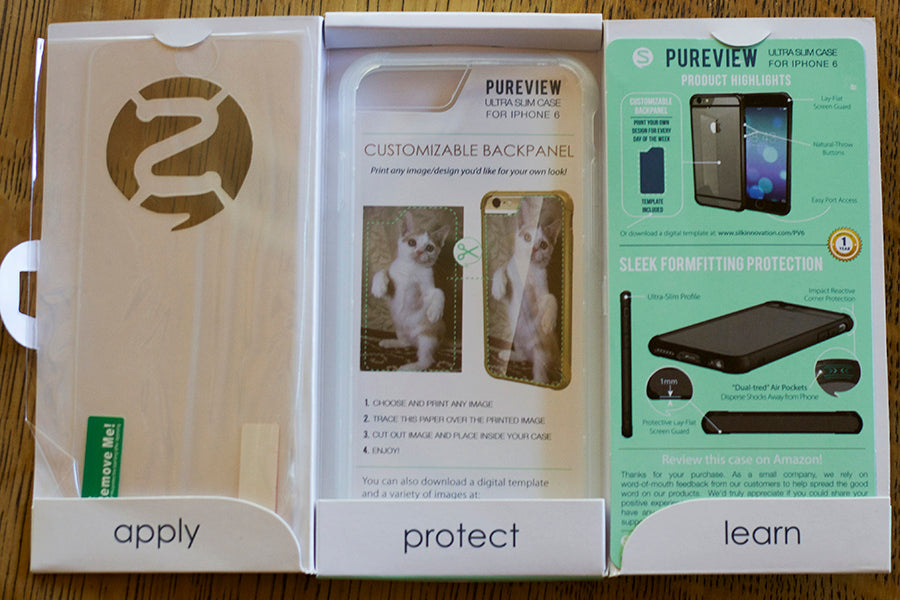
I've really enjoyed shooting with the Lensbaby mobile lenses ever since I first started testing the prototypes for what would become the LM-10. When Lensbaby came out with the iPhone mount I was especially thrilled because getting the lens perfectly centered is always tricky. There was just one minor hiccup - I’m rather lazy when it comes to mobile phone photography. If I had to take my phone out of it’s case each time I wanted to shoot with any of the mobile lenses, I was never going to end up shooting with them and I'd wind up missing a lot of spontaneous photo opportunities. Being the handy, DIY-type person that I am, when I got my new iPhone 6, I went on Amazon and found a case that I thought I could modify to fit the iPhone Mount but would still keep my phone safe during everyday use. I found this: The Silk Innovation Pureview Slim Case for iPhone 6.
I chose this case for a couple of reasons.
1. The opening around the camera was already pretty large so I wouldn’t have to do as much modifying to make the iPhone Mount fit.
2. The edges are rubber which means that, with the exception of the corner I’m going to cut off, the edges of the phone are decently protected if I drop my phone, and it’s relatively easy to take on and off.
3. The edges of the case are raised around the screen so if you set your phone screen-side-down, there’s less risk of scratching the screen.

GATHERING YOUR SUPPLIES
Modifying this case is pretty simple, but you will need a couple of tools: good pair of scissors, file, and fine sand paper. The screen protector comes with the case.
MODIFYING THE CASE
1. Start off by using the scissors to cut the rubber corner off.
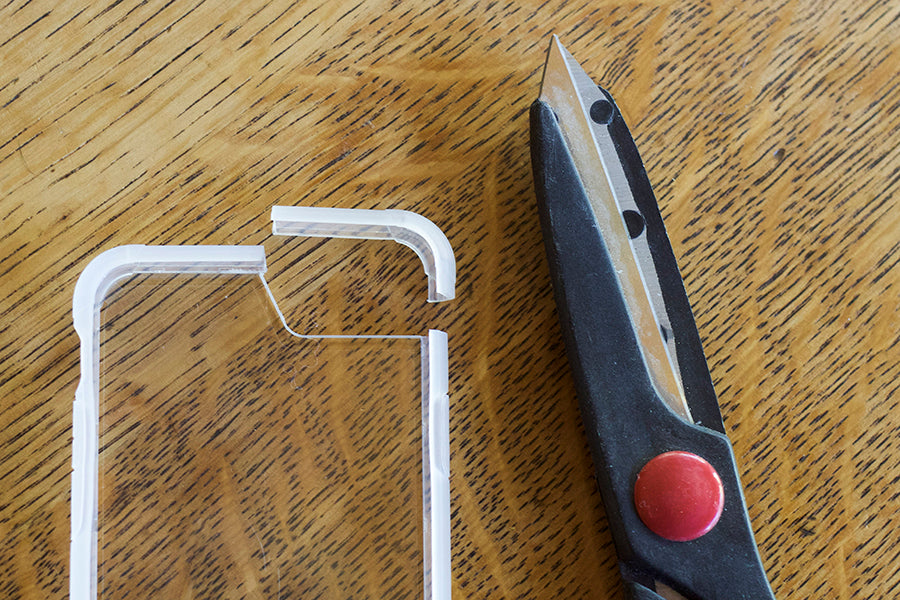
2. Use the file to file down the plastic about a ¼ of an inch to accommodate the iPhone Mount. You can put the case on your phone and test your progress as you go.

3. Using the scissors again, trim the little bit of rubber on the side that you exposed by filing down the plastic.
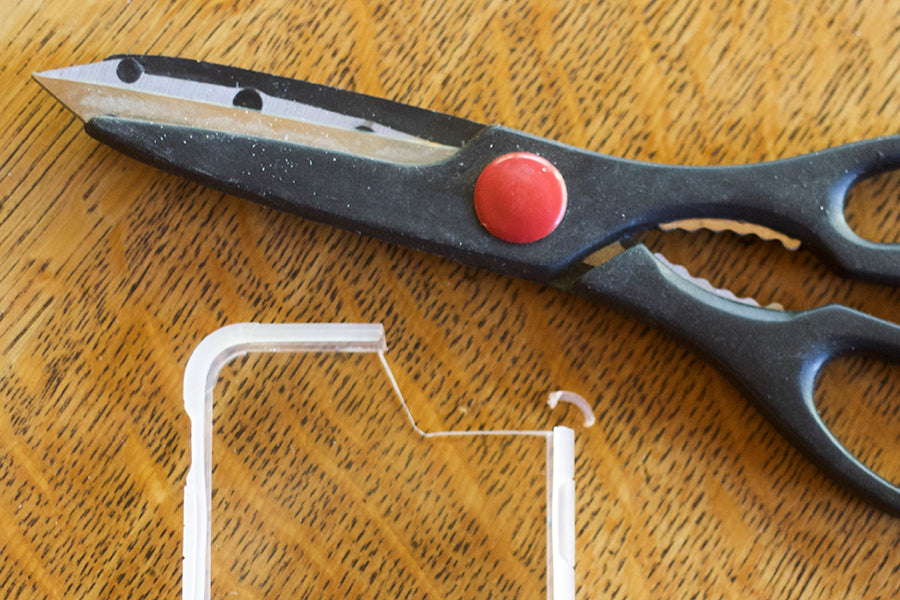
4. Use the fine sand paper to smooth out any rough edges.

5. Apply the screen protector following the instructions.
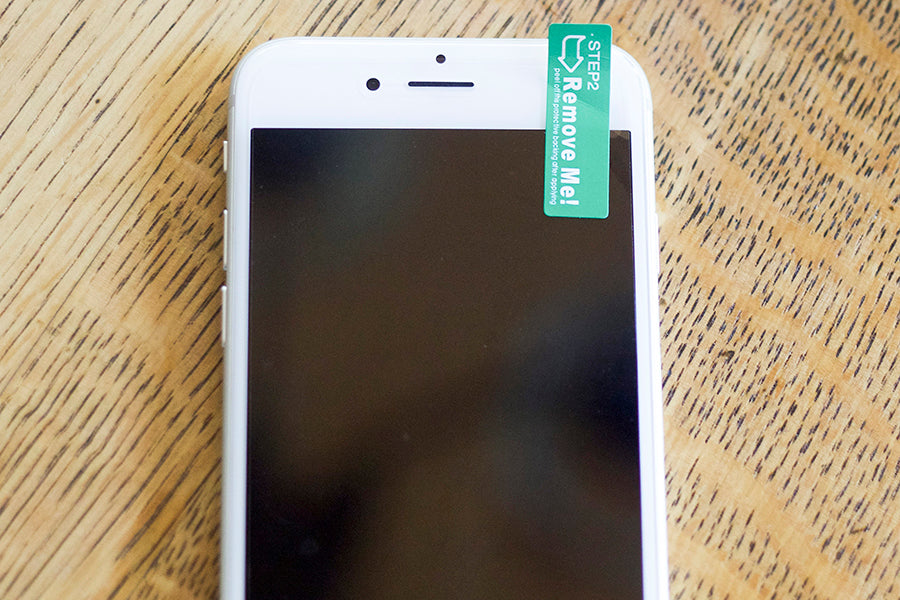
6. Rinse the case to get rid of all the plastic dust from filing and put it on your phone.

7. Attach your iPhone Mount and start shooting!
Our Deluxe Creative Mobile Kit is on sale right now for $99.95. This great holiday value includes LM-10, LM-20, and LM-30 - together for the first time with a convenient carrying case. It's the perfect gift for your favorite iPhone photographer. Available Black Friday Weekend only, get yours here!